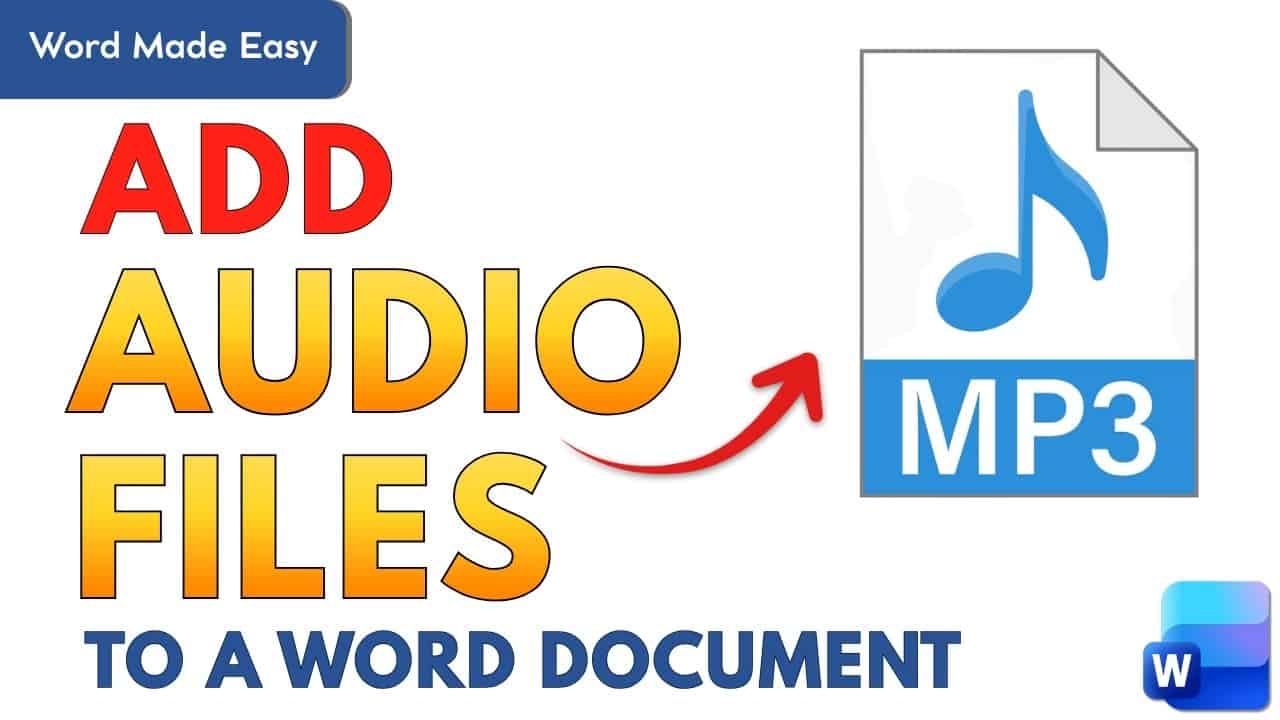
Adding audio files to a Microsoft Word document is a simple but powerful way to make your documents more interactive. You might be creating a tutorial. It could be a school assignment or a professional document with voice notes. This guide will show you exactly how to add audio files to Microsoft Word. It will also show you how to rename them. You will learn how to move them anywhere in your document without frustration.
This rewritten tutorial is clear and beginner-friendly. It follows the same method shown in the video. The method is explained in a cleaner and easier-to-follow way.
Why Add Audio Files to Microsoft Word?
Adding audio to Word documents can be useful for many reasons:
- Explaining instructions with voice notes
- Adding pronunciation or language-learning clips
- Including feedback or commentary
- Making documents more engaging and accessible
Once you learn how to add audio files to Microsoft Word, you’ll be able to enhance your documents with sound. You can do this in just a few clicks.
Watch the Video Tutorial
If you prefer to see this in action, the full video walkthrough is below, showing each method step by step.
Step-by-Step: How to Add Audio Files to Microsoft Word
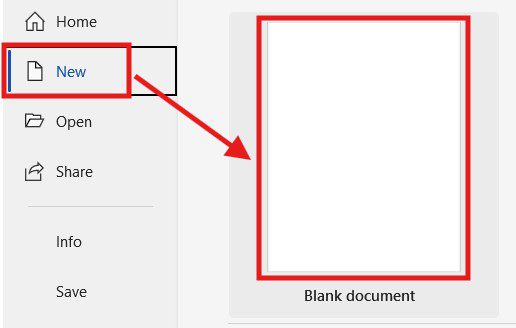
Step 1: Open Microsoft Word
Open Microsoft Word. Create a new document or open an existing one. Choose the document where you want to add the audio file.
Step 2: Go to the Insert Tab
At the top of the screen, click on the Insert tab in the ribbon menu.
Step 3: Click on Object
On the right side of the Insert menu:
- Click Object
- A new window will appear
- Select Create from File
This option allows you to embed an audio file directly into your Word document.

Step 4: Browse for Your Audio File
- Click Browse
- Locate the audio file on your computer
- Click the file once to select it
- Click Insert
Step 5: Insert the Audio File
After selecting your audio file:
- Click OK
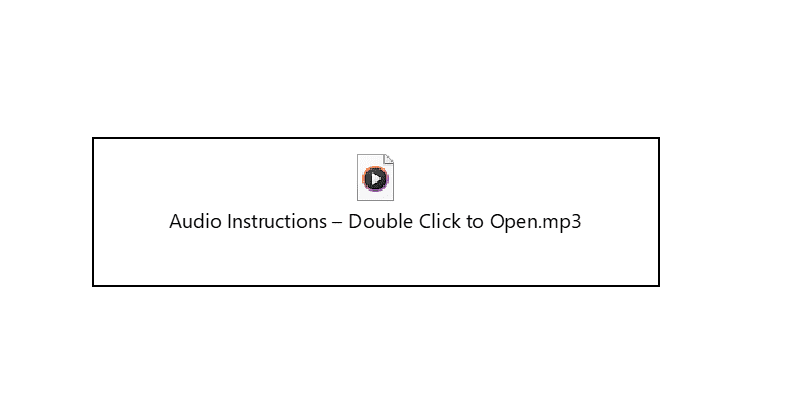
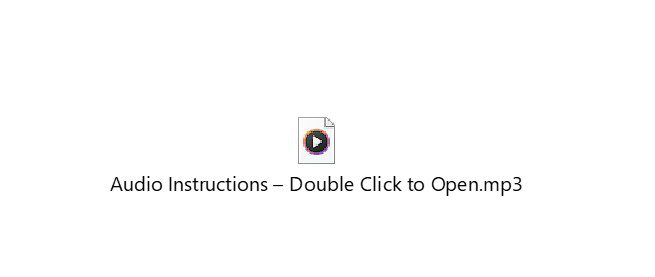
- An audio file icon will appear in your document
Your audio file is now successfully added to Microsoft Word.
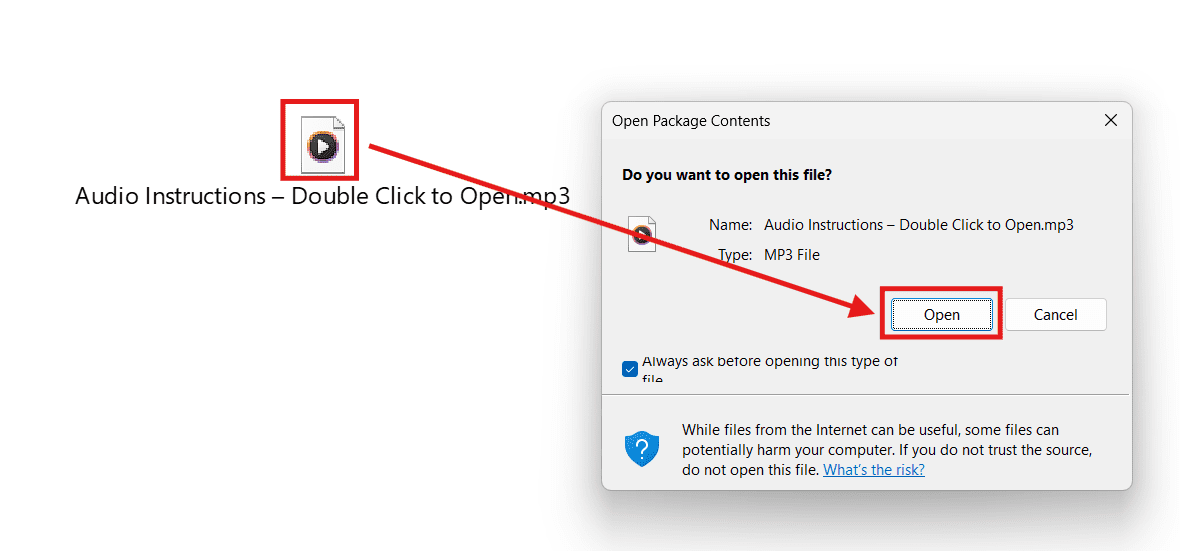
How to Play the Audio File
To play the audio:
- Simply double-click the audio file icon
- The file will open and play using your default media player

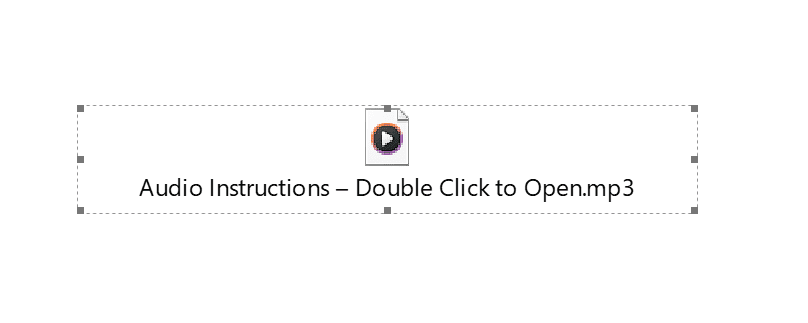
How to Rename the Audio File in Word
Renaming the audio file makes it easier for readers to understand what the audio contains.
Steps to Rename the Audio File:
- Right-click the audio file icon
- Select Object
- Click Rename Package
- Enter a new name
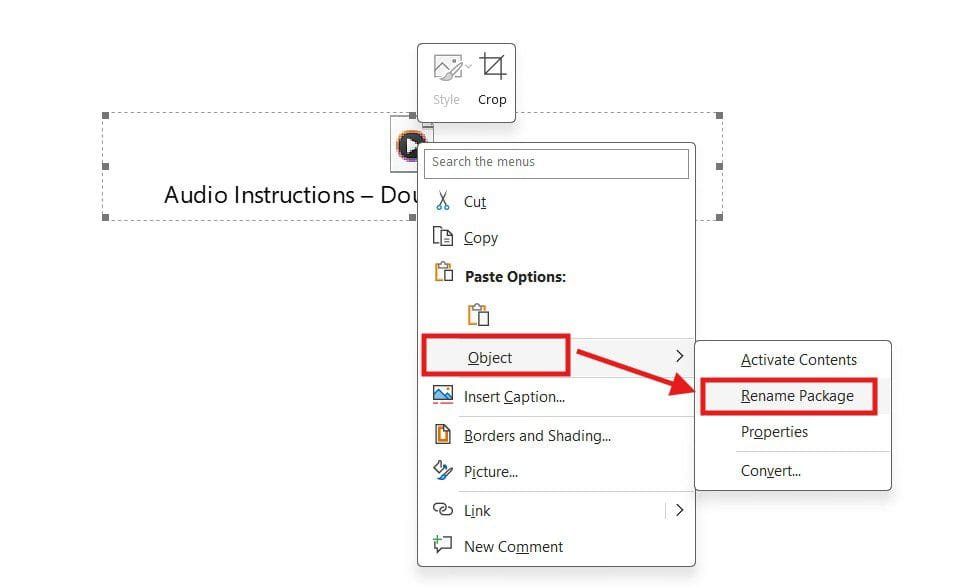

Important: Always keep the original file extension (for example, .mp3 or .wav).
Example: Audio Instructions – Double Click to Open.mp3
Why You Can’t Move the Audio File Easily
By default, audio files inserted into Word act like inline objects. This means you can’t freely move them around the page like images, which can be frustrating.
Luckily, there’s an easy workaround.
How to Move Audio Files Anywhere Using a Text Box
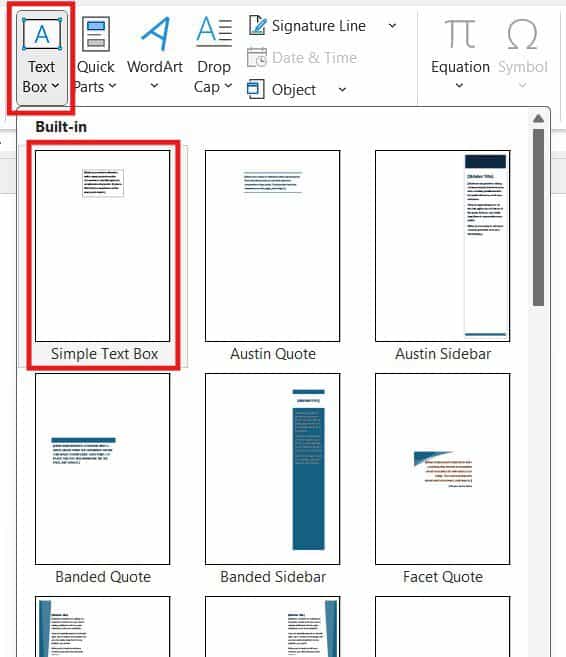
Step 1: Insert a Text Box
- Go to the Insert tab
- Click Text Box
- Choose Simple Text Box
Step 2: Move the Audio File into the Text Box
- Right-click the audio file
- Click Cut
- Click inside the text box
- Press Paste
Now the audio file is inside the text box and can be moved anywhere on the page.
Step 3: Remove the Text Box Border (Optional)
If you want a clean look:
- Click the text box
- Go to Shape Format
- Click Shape Outline
- Select No Outline

The audio file will remain accessible, but the border will disappear.
Helpful Tips
- MP3 files work best in Word
- Always test the audio before sharing the document
- Clearly label audio files so users know what they contain
- Keep audio clips short to reduce file size
Conclusion
That’s it! You now know how to add audio files to Microsoft Word. You can play them and rename them. Move them freely using a simple text box trick. Once you’ve done it a couple of times, the process becomes quick and effortless.
Thanks for following along—and see you next time!
FAQs
Can Microsoft Word play audio files directly inside the document?
No, Microsoft Word does not play audio directly inside the document. When you double-click the audio icon, it opens and plays using your computer’s default media player.
What audio file formats work best in Microsoft Word?
The most reliable audio format for Microsoft Word is MP3. Other supported formats include WAV and WMA, but MP3 files are smaller and more compatible across devices.
Why can’t I move the audio file freely in Word?
Audio files inserted into Word are treated as inline objects, which means they cannot be freely dragged around the page. To move them anywhere, place the audio file inside a text box, which allows full positioning control.
How do I move an audio file anywhere in a Word document?
Insert a Text Box from the Insert tab, cut the audio file, and paste it inside the text box. You can then move the text box anywhere on the page. To hide the border, go to Shape Format → Shape Outline → No Outline.
Can I rename an audio file inside Microsoft Word?
Yes. Right-click the audio file, select Package Shell Object → Rename, then enter a new name. Make sure to keep the original file extension, such as .mp3, so the file continues to work properly.
Will the audio file stay embedded when I share the Word document?
Yes, as long as you insert the audio using Create from File (without linking), the audio file will remain embedded. It will work when the document is shared with others.
Can I add multiple audio files to one Word document?
Yes, you can add multiple audio files to a single Word document. It’s best to rename each file clearly so users know what each audio clip contains.

More Microsoft Word Tutorials

Looking for more help with Microsoft Word? Browse all step-by-step Word tutorials covering formatting, layout, pages, and document setup.
👉 View all Microsoft Word tutorials: https://wordmadeeasy.org/microsoft-word/

Prefer watching instead of reading? Many Word tutorials are also available as short, step-by-step videos on the Word Made Easy YouTube channel.


Leave a Reply