Knowing how to draw a line in Word is one of the quickest ways to organise content, separate sections, or build simple fillable forms — and Word gives you four very different routes to get there depending on what the line needs to do. For a focused walkthrough on lines you can type above, see how to add a bottom border in Word.
In this guide, you’ll learn four reliable methods to draw a line — using AutoFormat shortcuts, the Shapes tool, the Horizontal Line button, and paragraph bottom borders — plus how to fix the most common problems that stop a line from appearing or behaving correctly.
Why Use Lines in Word Documents
Lines serve more roles than just decoration. They’re a layout tool that improves scanability and gives a document visual structure. Common uses include:
- Separating logical sections of content cleanly
- Creating signature areas, fillable fields, or form layouts — see also how to create a fillable form in Microsoft Word
- Improving document readability without adding clutter
- Adding visual structure to long-form text and reports
Watch the Video Tutorial
If you prefer to see this in action, the full video walkthrough is below, showing each method step by step.
How to Draw a Line in Word: Step-by-Step
There are four ways to draw a line in Word. Use AutoFormat shortcuts when you want a full-width line in one keystroke, the Shapes tool when you need a precisely-placed line you can style, the Horizontal Line tool for a clean section divider, and the Bottom Border when you need a line you can type above.
Method 1: How to Draw a Line in Word Using AutoFormat Shortcuts
AutoFormat shortcuts are the fastest route — type three characters, press Enter, and Word converts them into a full-width horizontal line. For more two-key time-savers, see the Microsoft Word keyboard shortcuts cheat sheet.
Shortcuts:
- Type
---then press Enter → Single line

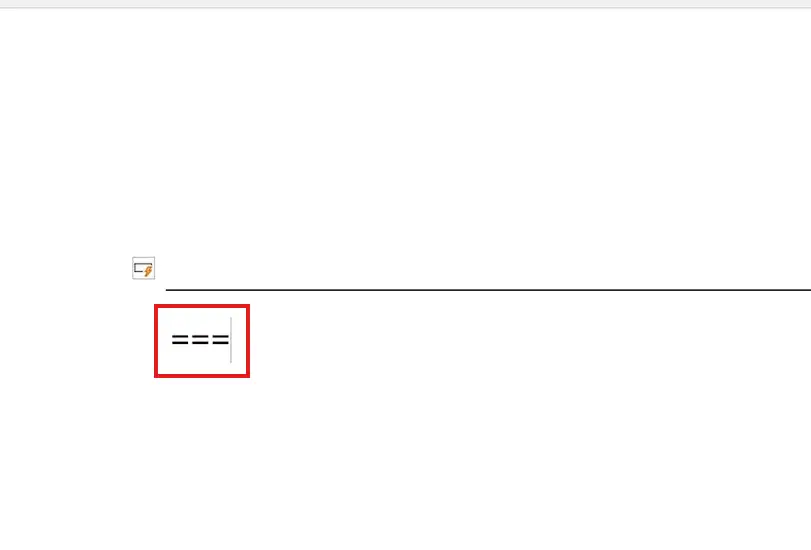
- Type
===then press Enter → Double line
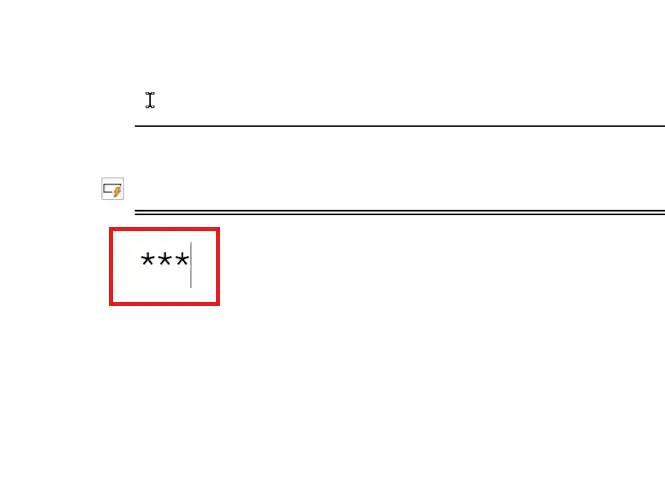
- Type
***then press Enter → Dotted line
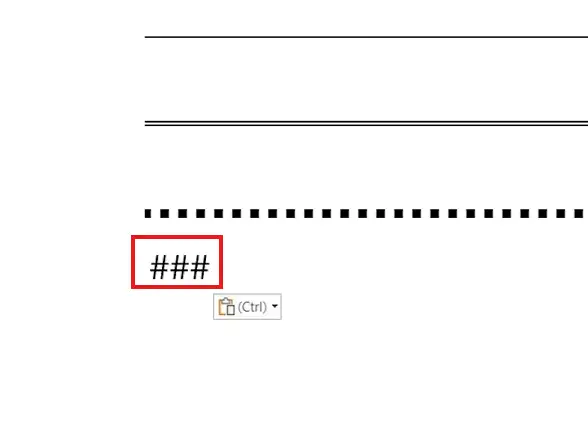
- Type
###then press Enter → Triple line
👉 Each line automatically stretches the full width of the page and sits as a paragraph border, so you can type above it on the line directly before.
Method 2: How to Draw a Line in Word Using Shapes
Shapes give you full control — exact placement anywhere on the page, plus styling for colour, thickness, and arrow heads. Use this method when AutoFormat lines aren’t precise enough.
Steps:
- Click the Insert tab
- Click Shapes in the Illustrations group
- Choose a Line from the Lines section at the top of the menu

- Click and drag on the page to draw your line
- Hold Shift while dragging to lock the line to perfectly horizontal, vertical, or 45-degree angles

👉 Once drawn, the line becomes a selectable object — use the Shape Format tab to change its colour, weight, dash style, or arrow ends.
Method 3: How to Draw a Line in Word Using the Horizontal Line Tool
The Horizontal Line tool inserts a fixed-width divider line that sits inline with text — useful for clean section breaks between paragraphs.
Steps:
- Place your cursor where you want the line to appear
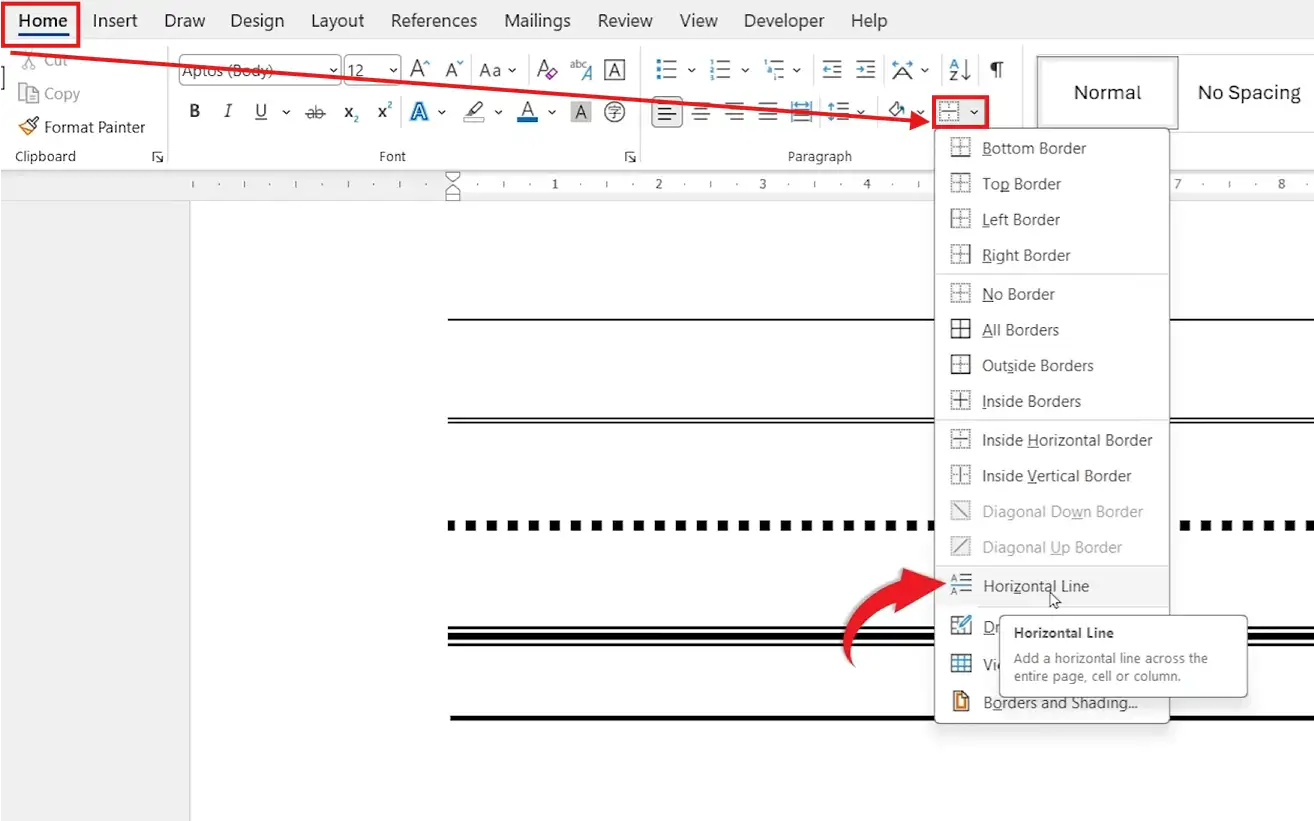
- Go to the Home tab
- In the Paragraph group, click the Borders dropdown arrow
- Select Horizontal Line from the bottom of the menu
👉 Double-click the line afterwards to open Format Horizontal Line, where you can change width, height, colour, and alignment.
Method 4: How to Draw a Line in Word Using a Bottom Border
A bottom border creates a line directly beneath the text in a paragraph — perfect for headings and form fields where you need to type above the line. For the full walkthrough, see how to add a bottom border in Word.
Steps:
- Click in the paragraph where you want the line
- Go to the Home tab
- Click the Borders dropdown arrow in the Paragraph group
- Select Bottom Border

👉 A line appears directly under the paragraph — and the text stays editable above it, which is why this method works best for forms and signature areas.
Which Method Should You Use?
The four methods produce different kinds of lines — pick based on whether you need speed, precise styling, or the ability to type above the line.
| Method | Best For | Can You Type Above? |
|---|---|---|
| AutoFormat shortcuts | Instant full-width dividers | Yes |
| Shapes (Insert → Line) | Custom placement, colour, and thickness | No (line is a floating object) |
| Horizontal Line tool | Clean section dividers between paragraphs | No (line sits inline) |
| Bottom Border | Signature areas, form fields, headings | Yes (best for forms) |
Common Problems When Drawing a Line in Word
If your line isn’t appearing or behaving the way you expect, one of these four issues is usually the cause.
The three-character shortcut isn’t creating a line
AutoFormat is switched off. Go to File → Options → Proofing → AutoCorrect Options → AutoFormat As You Type and tick Border lines under Apply as you type.
I can’t delete a line created by the shortcut
AutoFormat lines are paragraph borders, not text. Click in the paragraph directly above the line, then go to Home → Borders dropdown → No Border to remove it.
My drawn line isn’t perfectly straight
You’re freehand-dragging without locking the angle. Hold Shift while dragging to constrain the line to a perfectly horizontal, vertical, or 45-degree angle.
The line disappears when I press Enter
The line is attached to the paragraph as a bottom border. When the paragraph ends, the border ends with it. Use an AutoFormat line (typed on its own blank line) or a Horizontal Line instead — both persist independently of the paragraph that created them.
Pro Tips
- Use AutoFormat lines for fast section dividers and Bottom Border for headings — they read cleaner than drawn shapes and don’t drift if the page reflows.
- If you’re building a form with multiple lines stacked together (name, date, signature), use Bottom Border with Tab stops — see how to add lines in Microsoft Word for the full form-building workflow.
- For coloured or thicker lines, the Shapes method gives the most flexibility — but anchor the shape to a paragraph so it doesn’t drift when text is added above.
- Avoid mixing all four methods in the same document — pick one style and stick with it for a consistent, professional look.
FAQs
What is the fastest way to draw a line in Word?
The fastest way to draw a line in Word is AutoFormat. Type three hyphens --- on a new line and press Enter — Word automatically converts them into a full-width horizontal line in under a second.
How do I draw a perfectly straight line in Word?
Use the Shapes tool: go to Insert → Shapes → Line, then hold Shift while dragging. The Shift key locks the line to perfectly horizontal, vertical, or 45-degree angles.
Can I change the colour of a line in Word?
Yes. Lines drawn with the Shapes tool can be fully styled — select the line, go to the Shape Format tab, and use Shape Outline to change colour, weight, and dash style.
Why can’t I type above some lines in Word?
Shapes and Horizontal Line tool lines are objects that float above or around the text — they don’t sit in the text flow. For lines you can type above (forms, signature areas), use AutoFormat shortcuts or Bottom Border instead.
Which method is best for creating forms in Word?
Bottom Border is best for forms because the line sits beneath text you can edit. AutoFormat lines work well for divider lines between sections of a form, but Bottom Border combined with Tab stops produces the cleanest fillable layout.
How do I remove a line created by AutoFormat in Word?
Click in the paragraph directly above the line, go to Home → Borders dropdown, and select No Border. The line disappears immediately. The Backspace key won’t work because the line is a paragraph border, not text.
How do I draw a vertical line in Word?
Use Shapes: Insert → Shapes → Line, then hold Shift while dragging downwards. For a vertical divider between columns of text, set up two columns under Layout → Columns → More Columns and tick Line between.
Does drawing a line work the same way in Word for Mac?
Yes. All four methods — AutoFormat, Shapes, Horizontal Line, and Bottom Border — work identically on Word for Mac. AutoFormat must be enabled under Word → Preferences → AutoCorrect → AutoFormat As You Type for the shortcut method to work.
Conclusion
Drawing a line in Word takes seconds once you know which method matches the job — AutoFormat for instant dividers, Shapes for precise placement and styling, the Horizontal Line tool for inline section breaks, and Bottom Border for forms and signature areas.
If you want to take this further with frames around your whole document, see how to add a page border in Microsoft Word — it pairs perfectly with the line techniques covered here.
Related Tutorials
- How to Add a Bottom Border in Word
- How to Add Lines in Microsoft Word
- Microsoft Word Keyboard Shortcuts Cheat Sheet

Recent Microsoft Word Tutorials

Looking for more help with Microsoft Word? Browse all step-by-step Word tutorials covering formatting, layout, pages, and document setup.
👉 View all Microsoft Word tutorials: https://wordmadeeasy.org/microsoft-word/
👉 Need more support – check out the official guidance: https://support.microsoft.com/en-au

Prefer watching instead of reading? Many Word tutorials are also available as short, step-by-step videos on the Word Made Easy YouTube channel.


Leave a Reply