Empty or blank pages in Word can be frustrating. You delete everything, yet the page just won’t go away. If you’ve ever struggled with this, you’re not alone.
In this complete guide, you’ll learn how to delete an empty page in Microsoft Word. You will use three easy methods that work on both Windows and Mac. These techniques are safe, beginner-friendly, and recommended by experienced Word users.
Why Do Empty Pages Appear in Microsoft Word?
Before learning how to delete an empty page in Microsoft Word, you should understand why they appear. This understanding can help you address the issue effectively.
Common causes include:
- Extra paragraph marks (¶)
- Page breaks or section breaks
- Tables that extend beyond the page
- Hidden formatting characters
- Pressing Enter too many times
Even if the page looks empty, Word may still be storing hidden content.
Before You Start: Quick Checks
Before applying any method:
- Click anywhere on the blank page
- Zoom out slightly to see hidden spacing
- Try pressing Backspace once or twice
If the page doesn’t disappear, move on to the methods below.
Watch the Video Tutorial
If you prefer to see this in action, the full video walkthrough is below, showing each method step by step.
Method 1: Delete the Empty Page Using Backspace (Quick Fix)
This is the simplest way and works in many cases.
Steps
- Click directly on the empty page
- Place your cursor at the top or bottom of the page
- Press Backspace repeatedly until the page disappears
When This Works Best
- Extra empty paragraphs
- Accidental line breaks
- Blank pages at the end of a document
Limitations
This method does not work if hidden formatting or page breaks are present.
Method 2: Use the Show/Hide ¶ Tool (Most Reliable Method)
This is the most effective method and the one professionals use.
Why This Works
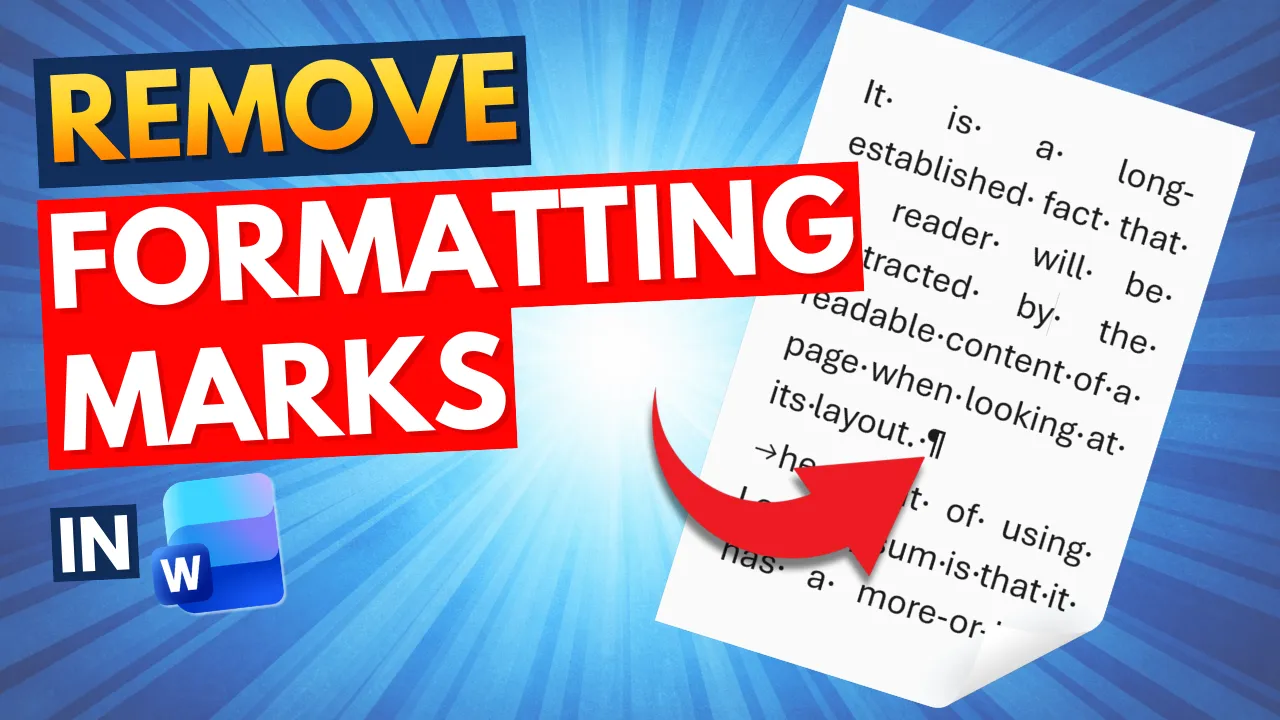
Word often hides formatting marks like paragraph symbols and page breaks. If you want to understand exactly what each mark means and how to remove them permanently, see the guide on how to remove formatting marks in Word.
Steps
- Go to the Home tab
- Click the Show/Hide (¶) icon (it looks like a backward “P”)
- Scroll to the empty page
- Highlight all visible paragraph marks (¶) or breaks
- Press Backspace or Delete
- Click the ¶ icon again to hide formatting
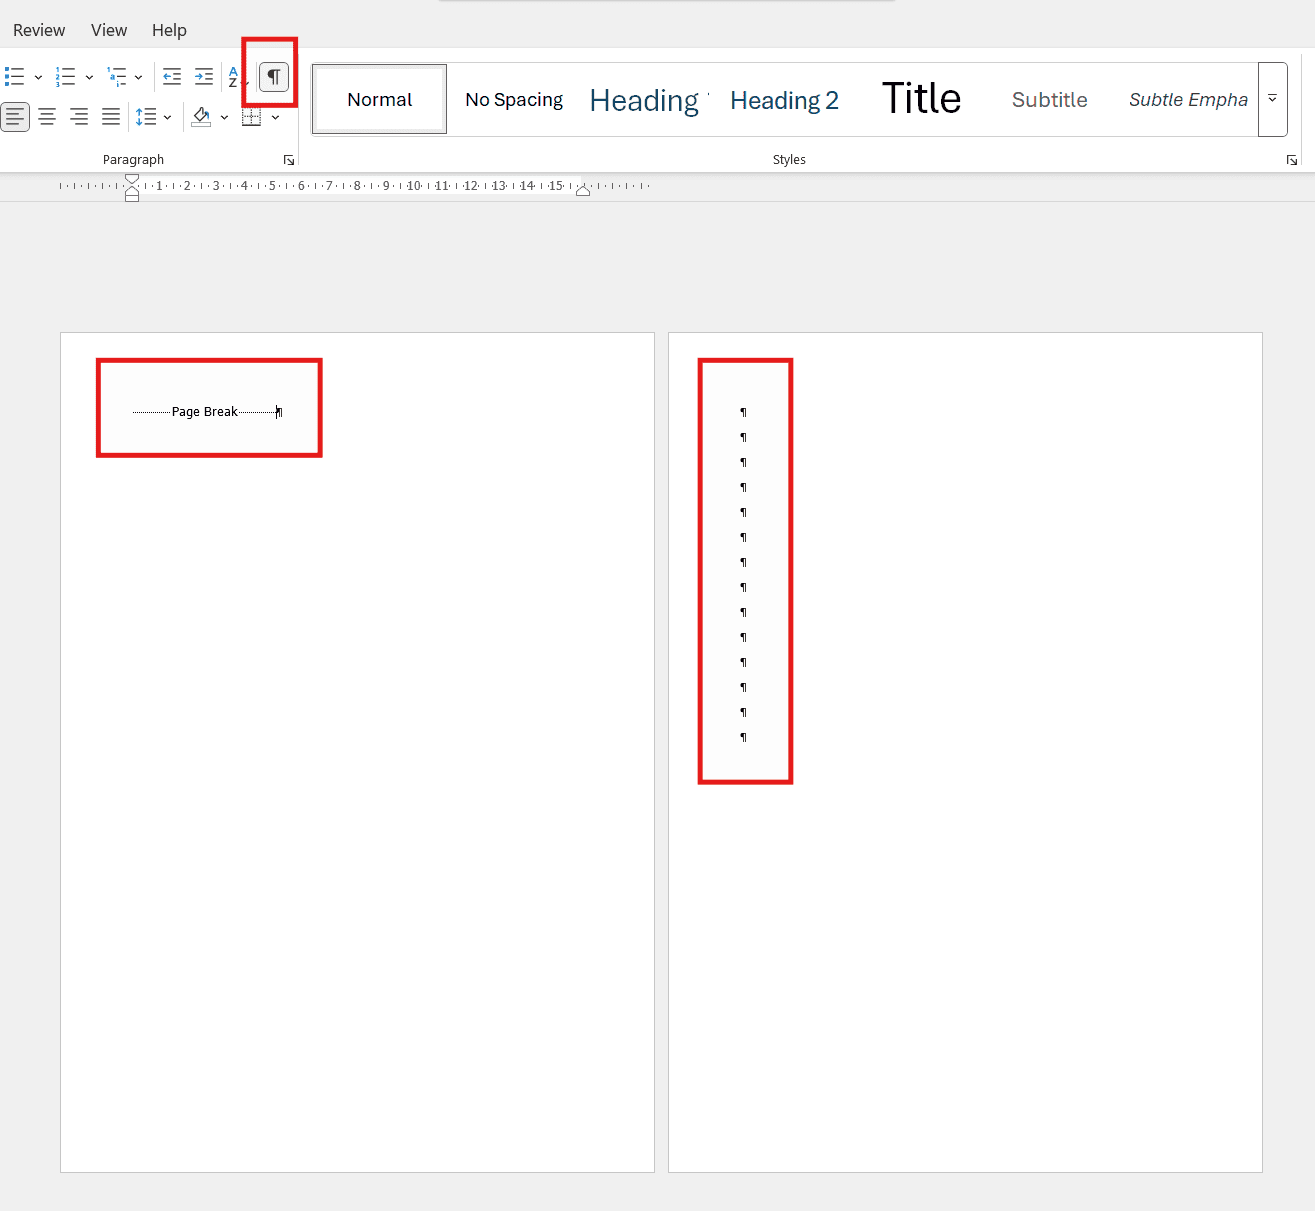
What You’ll See
- Paragraph symbols (¶)
- Page breaks
- Extra spacing that causes blank pages
Once removed, the empty page disappears instantly.
This method is perfect for long documents with multiple pages.
Steps
- Click the View tab
- Enable Navigation Pane
- Select Pages
- Click the blank page thumbnail
- Press Backspace until the page is gone

Why This Helps
- You can visually see all pages
- Makes deleting extra pages faster
- Great for reports, essays, and ebooks
Why Some Blank Pages Refuse to Delete
If none of the methods worked, one of these is likely the issue:
- A section break instead of a page break
- A table pushing content onto a new page — this can sometimes be fixed by adjusting your margins in Word to give the table more room.
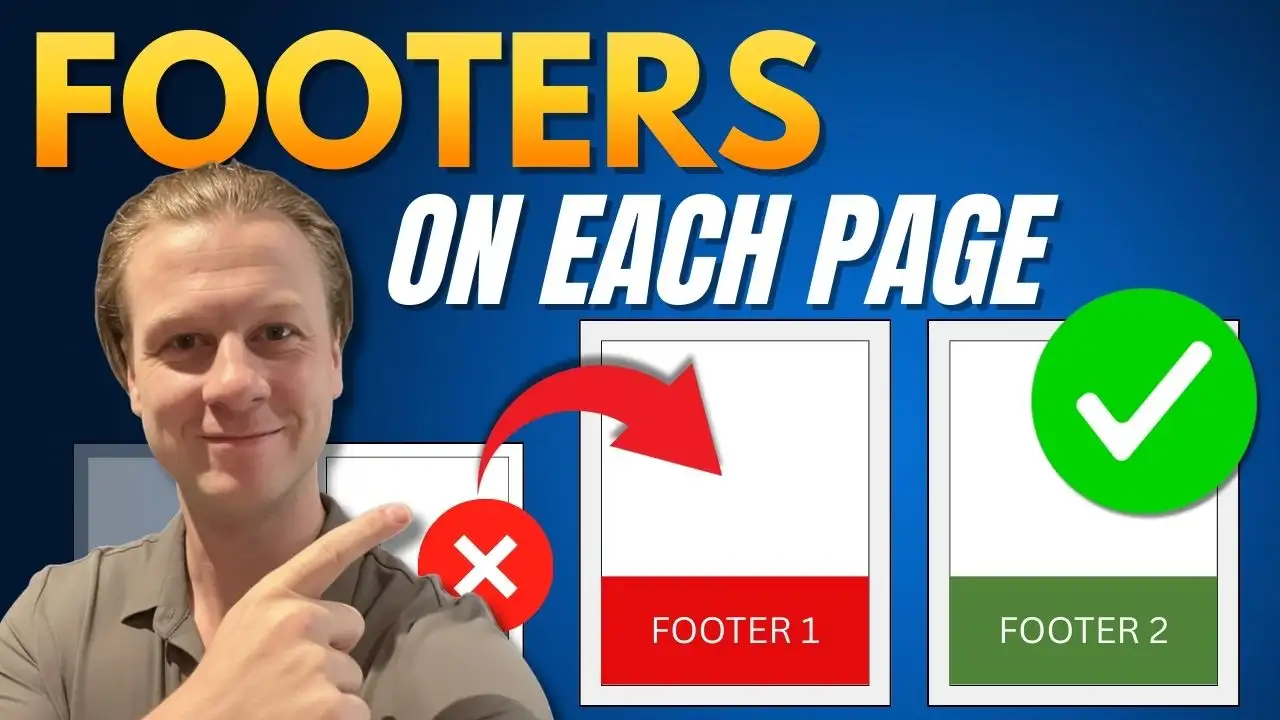
- Footer or header spacing — particularly if you have different footers on different pages, which can create unexpected spacing between sections.
- A hidden object or text box
Quick Fix
Enable Show/Hide ¶ and look carefully for:
- “Section Break (Next Page)”
- Extra spacing under tables
Deleting or resizing these usually solves the problem.
Common Mistakes to Avoid
❌ Pressing Enter repeatedly instead of fixing formatting
❌ Ignoring paragraph marks
❌ Deleting headers or footers accidentally
❌ Assuming the page is truly empty
Always check hidden content before giving up.
FAQs: How to Delete an Empty Page in Microsoft Word
1. Why can’t I delete the last blank page in Word?
The last page often contains hidden paragraph marks or a page break. Use Show/Hide ¶ to reveal and delete it.
2. Does this work on Word for Mac?
Yes. All three methods work on Windows and macOS, though menu names may vary slightly.
3. How do I delete a page break instead of a blank page?
Turn on Show/Hide ¶, find the page break, highlight it, and press Delete.
4. Can tables cause blank pages?
Yes. Large tables can force content onto a new page. Try resizing the table or reducing spacing.
5. Will deleting a blank page affect my formatting?
No, as long as you only remove unnecessary paragraph marks or breaks.
6. Is there a shortcut to remove empty pages?
There’s no single shortcut, but Show/Hide ¶ + Backspace is the fastest method.
Final Thoughts
Now you know how to delete an empty page in Microsoft Word using three proven methods:
- Backspace deletion
- Show/Hide formatting (best method)
- Navigation Pane page control
These techniques work for essays, resumes, reports, and professional documents. Once you master them, blank pages will never slow you down again.
Thanks for reading—and happy editing!
Related Tutorials
- How to Remove Formatting Marks in Word
- How to Adjust Margins in Word
- Different Footers on Different Pages

Recent Microsoft Word Tutorials

Looking for more help with Microsoft Word? Browse all step-by-step Word tutorials covering formatting, layout, pages, and document setup.
👉 View all Microsoft Word tutorials: https://wordmadeeasy.org/microsoft-word/
👉 Need more support – check out the official guidance: https://support.microsoft.com/en-au

Prefer watching instead of reading? Many Word tutorials are also available as short, step-by-step videos on the Word Made Easy YouTube channel.


Leave a Reply