If you want to learn how to insert a picture in Word, this guide covers the 3 easy methods. Knowing how to insert a picture in Word lets you add photos, screenshots, and illustrations to make your documents more engaging, professional, and visually appealing — and once you’ve added an image, you can also insert a picture into a shape in Word for more creative layouts. You’ll learn how to insert a picture in Word using your computer, online search, and the built-in stock image library.
In this guide, you’ll learn how to insert pictures from your device, search online without leaving Word, and use royalty-free stock images. You’ll also see how to resize, move, and fix common issues like images that won’t move freely.
Why Insert a Picture in Word?
Before you learn how to insert a picture in Word, it helps to understand why pictures matter. The right image at the right moment turns a wall of text into a document people actually read.
Pictures improve any Word document by:
- Making content more visually appealing
- Supporting explanations and examples
- Breaking up long blocks of text
- Creating professional layouts for reports and resumes
Pictures appear most often in school projects, business reports, flyers, brochures, resumes, and portfolios — anywhere visual context matters.
Watch the Video Tutorial
If you prefer to see this in action, the full video walkthrough is below, showing each method step by step.
How to Insert a Picture in Word: Step-by-Step
There are three built-in ways to insert a picture in Word: from your computer, from an online search, or from Microsoft’s stock image library. All three live under the same Insert menu.
Method 1: How to Insert a Picture in Word From Your Computer
If the image is already saved on your device, this is the fastest way to insert a picture in Word.
Steps:
- Click the Insert tab
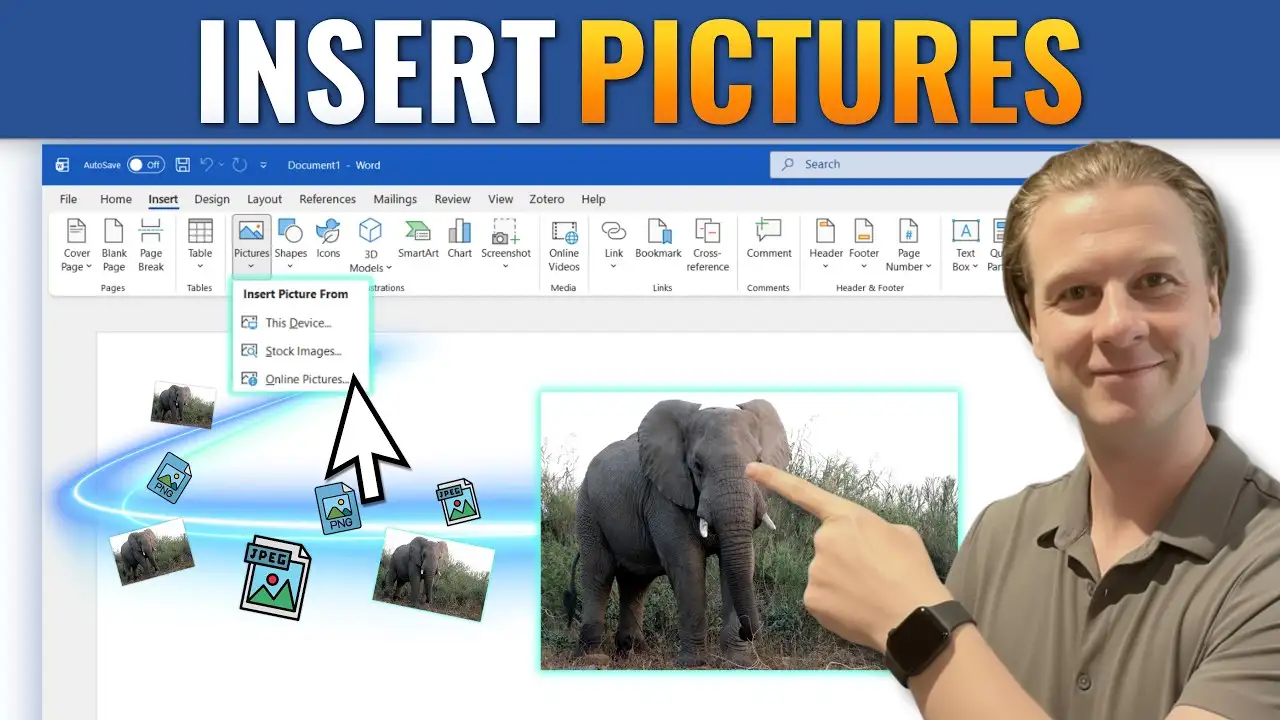
- Select Pictures
- Click This Device

- Browse to your image location
- Select the image
- Click Insert
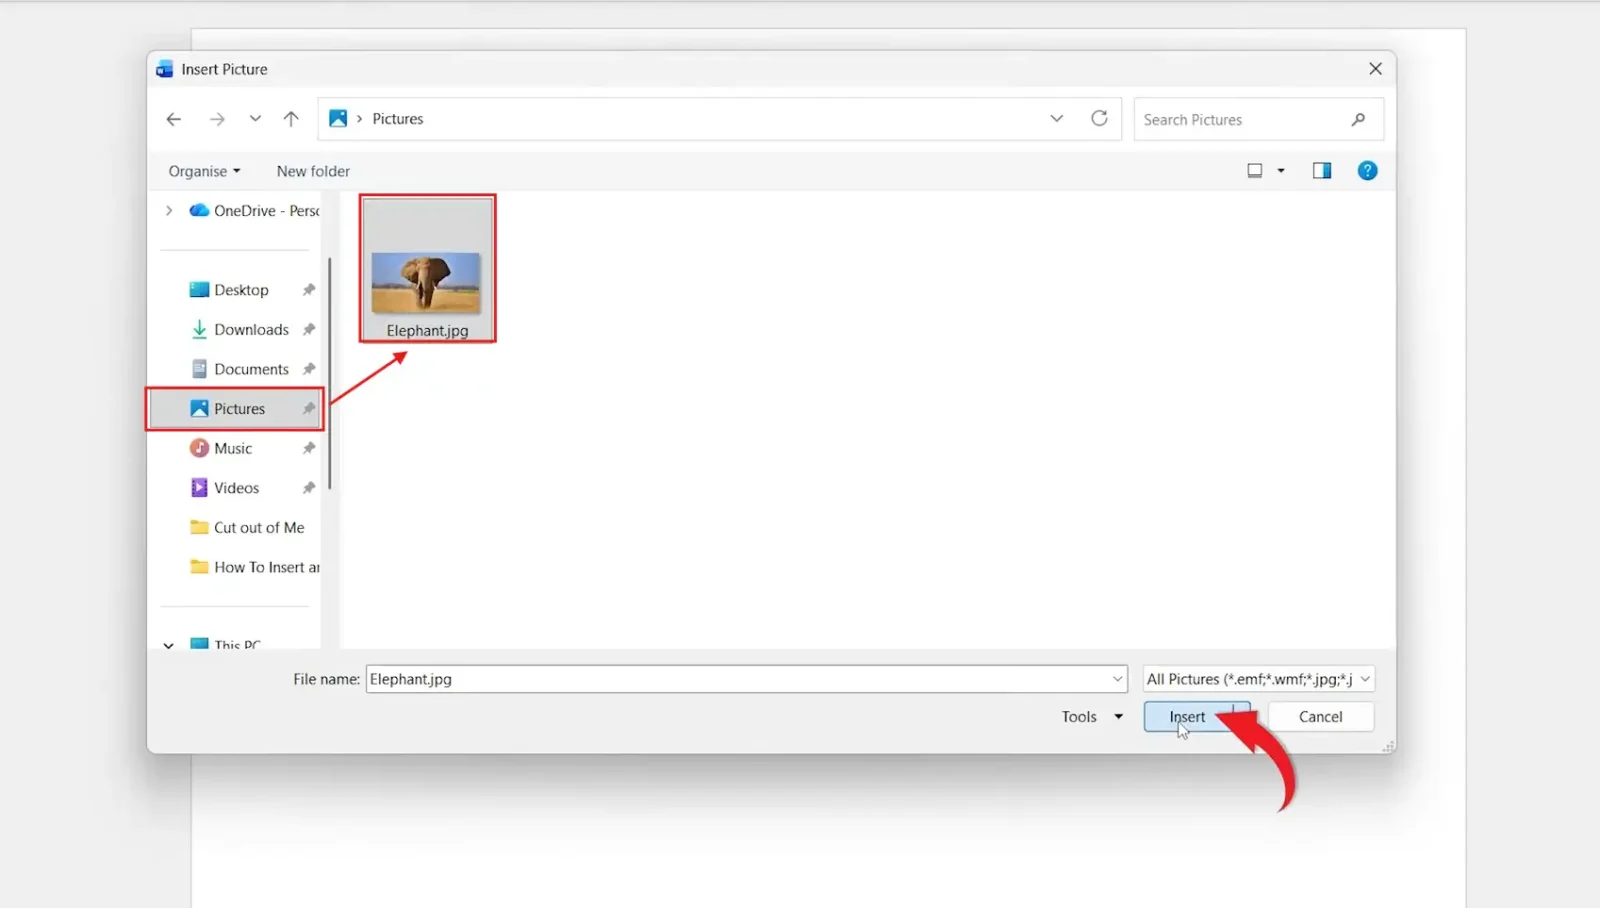
👉 The picture appears in your Word document at the cursor position. That’s it — no menus, no dialogs, no formatting steps.
Method 2: How to Insert a Picture in Word From Online Search
If the image is not saved on your device, you can search the web directly from inside Word. This method uses Bing image search and inserts results without leaving the document.
Steps:
- Go to Insert > Pictures
- Select Online Pictures

- Type a keyword into the search box
- Choose the image you want
- Click Insert
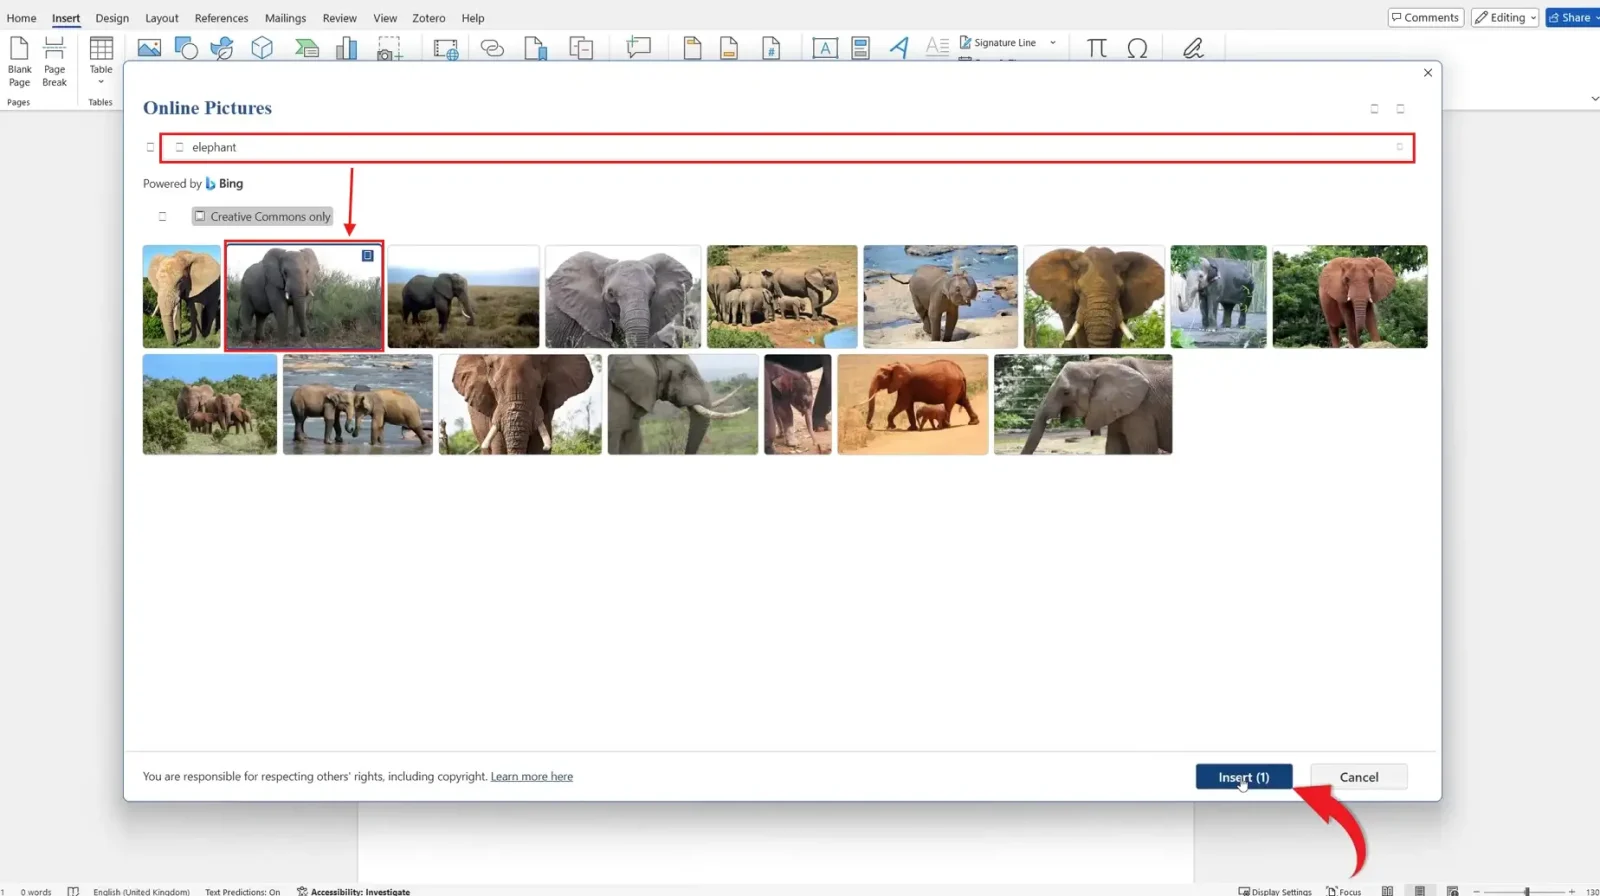

👉 Word inserts the image directly into your document. Online Pictures uses Bing image search under the hood, so results vary by search term.
Online Picture Attribution
Some online images include attribution text below them when inserted. To remove it, click the attribution text and press Delete. Always check the licensing of any online image before using it in a published document — Online Pictures filters for Creative Commons by default but verify before publishing.
Method 3: How to Insert a Picture in Word From Stock Images
Microsoft 365 includes a built-in stock image library. This is the safest way to insert a picture in Word for business documents because every stock image is royalty-free and licensed for commercial use.
Steps:
- Click Insert
- Select Pictures
- Choose Stock Images
- Search for a category or keyword
- Select your image
- Click Insert

👉 A royalty-free image is added directly to your document. Stock Images also includes icons, cutout people, illustrations, and stickers under the same menu.
Stock Images require an active Microsoft 365 subscription. Word 2019 and earlier versions don’t include this feature.
Which Method Should You Use to Insert a Picture in Word?
| Method | Best For |
|---|---|
| This Device | Personal photos, screenshots, company logos |
| Online Pictures | Quick illustrations when you don’t have an image ready |
| Stock Images | Business documents, presentations, royalty-free visuals |
Resize and Position Your Picture in Word
Once you insert a picture in Word, you can resize, reposition, and customise it without leaving the document.
Resize an Image
Click the image to select it, then drag any of the four corner handles to resize proportionally. Corner handles keep the aspect ratio. Side handles stretch the image and should be avoided unless you want distortion.
Move an Image
By default, Word locks pictures in line with text — meaning the image behaves like a large letter. To move it freely, click Layout Options (the icon that appears next to a selected image) and pick a text wrapping style other than “In Line with Text”.
Common Problems When Inserting Pictures in Word
Picture Won’t Move Freely
The image is locked “In Line with Text”. Select the picture, click Layout Options, and choose Square, Tight, Behind Text, or In Front of Text — for a full walkthrough, see the guide on how to move an image freely in Word.
Image Looks Blurry
You’re enlarging a low-resolution image beyond its native size. Use higher-quality source images, and avoid stretching small images to fill a page.
Online Pictures Not Loading
Check your internet connection and make sure Word is up to date. Online Pictures requires a live connection to Bing’s image servers — offline mode disables this feature entirely.
Stock Images Greyed Out
Your Word version doesn’t include Stock Images. This feature requires Microsoft 365. Word 2019, 2016, and Word Online (free tier) don’t have access to the stock library.
Pro Tips for Inserting Pictures in Word
- Use high-resolution pictures (300 DPI minimum for print, 72 DPI for screen)
- Keep image sizes consistent across the document for a clean professional look
- Avoid cluttering pages with too many visuals — one image per topic is usually plenty
- Drop the picture into a shape for creative layouts — see the guide on how to insert a picture into a shape in Word to round corners, create circles, or use any custom shape
FAQs
How do I insert a picture in Word?
To insert a picture in Word, go to Insert > Pictures, then choose This Device, Online Pictures, or Stock Images depending on where the image lives.
How do I add an image in Word from my computer?
Click the Insert tab, choose Pictures > This Device, browse to your file, and click Insert. The image appears at the cursor position.
Can I use online images in Word?
Yes. Word includes an Online Pictures feature that uses Bing image search. Go to Insert > Pictures > Online Pictures and search for what you need.
How do I insert a picture into a circle or shape in Word?
Insert the picture first using any of the three methods, then use the Crop to Shape feature — see the full guide on how to insert a picture into a shape in Word for circles, stars, hexagons, and other shapes.
What are Stock Images in Word?
Stock Images are built-in royalty-free photos, illustrations, icons, and stickers included with Microsoft 365. They’re licensed for commercial use, so they’re safe to use in business documents.
Why can’t I move my picture freely in Word?
Word locks pictures “In Line with Text” by default. Click the image, open Layout Options, and choose Square or Tight to move it anywhere on the page.
Can I resize pictures in Word without distorting them?
Yes. Click and drag the corner handles — these maintain the aspect ratio. Side handles stretch the image and cause distortion, so avoid them.
Does this work on Word for Mac?
Yes. The steps to insert a picture in Word are almost identical on Mac. The Insert tab, Pictures menu, and Layout Options all work the same way.
Conclusion
Now that you know how to insert a picture in Word using 3 easy methods — your computer, Online Pictures, and Stock Images — you can add visuals to any document in seconds without leaving Word.
For personal photos and screenshots, use This Device. For quick illustrations when you don’t have an image ready, use Online Pictures. For business documents and royalty-free visuals, use Stock Images. Once the picture is in your document, learn how to move an image freely in Word to position it exactly where you need it.
Related Tutorials
- How to Move an Image Freely in Word
- How to Insert a Picture into a Shape in Word
- How to Make an Image Transparent in Word

Recent Microsoft Word Tutorials

Looking for more help with Microsoft Word? Browse all step-by-step Word tutorials covering formatting, layout, pages, and document setup.
👉 View all Microsoft Word tutorials: https://wordmadeeasy.org/microsoft-word/
👉 Need more support – check out the official guidance: https://support.microsoft.com/en-au

Prefer watching instead of reading? Many Word tutorials are also available as short, step-by-step videos on the Word Made Easy YouTube channel.


Leave a Reply