If you want to learn how to move a picture in Word, this guide covers the 3 easy methods. Knowing how to move a picture in Word lets you place images anywhere on the page — inside paragraphs, beside text, or at the edges — instead of being stuck in line with your typing. You’ll learn how to move a picture in Word using text wrapping, arrow keys for precision, and the Quick Access Toolbar for one-click access — and once you’ve positioned your picture, you can also learn how to insert a picture into a shape in Word for more creative layouts.
By default, Word locks pictures in line with text — meaning each picture behaves like a large letter. The fix takes 5 seconds once you know what to click. In this guide, you’ll learn the three fastest methods to override that default and place pictures wherever you need them.
Why Pictures Are Hard to Move in Word by Default
Before you learn how to move a picture in Word, it helps to understand the default behaviour. When you insert a picture into Word, it is automatically set to In Line with Text.
This default setting causes three frustrations:
- The picture behaves like a single text character
- Moving it pushes paragraphs around and breaks formatting
- The layout becomes messy fast
To move a picture in Word, you need to change the text wrapping. That single change unlocks everything else.
Watch the Video Tutorial
If you prefer to see this in action, the full video walkthrough is below, showing each method step by step.
How to Move a Picture in Word: Step-by-Step
There are three methods to move a picture in Word: change the text wrapping, use arrow keys for precision, or add the Wrap Text command to the Quick Access Toolbar for one-click access. Method 1 is the foundation — Methods 2 and 3 build on top of it.
Method 1: How to Move a Picture in Word Using Text Wrapping
Changing the text wrapping is the foundation of every other method. This is how you tell Word: this picture is an object, not a letter.
Steps:
- Click on your picture to select it
- Go to the Picture Format tab
- Click Wrap Text
- Choose any option other than In Line with Text:
- Square — text wraps around the picture in a rectangle (best for most documents)
- Tight — text follows the picture’s outline closely
- In Front of Text — picture sits on top of text
- Behind Text — picture sits behind text (useful for watermarks)

👉 Pick Square for everyday documents. Click and drag the picture anywhere on the page — text reflows around it automatically. That’s it — no menus, no dialogs, no further setup.
Method 2: How to Move a Picture in Word With Arrow Keys
Dragging with the mouse is fast but imprecise. To move a picture in Word with pixel-level accuracy, use the arrow keys after enabling text wrapping.
Steps:
- Click the picture to select it
- Press the ← ↑ → ↓ arrow keys to nudge it
- Hold Ctrl while pressing an arrow key to move in larger steps
👉 Each arrow press moves the picture by approximately 1 pixel. This is the trick designers use to align pictures to other elements on the page without overshooting.
Method 3: How to Move a Picture in Word via Quick Access Toolbar
If you frequently move pictures in Word, adding the Wrap Text command to the Quick Access Toolbar saves clicks on every future document.
Steps:
- Select any picture in your document
- Go to the Picture Format tab
- Right-click the Wrap Text button
- Select Add to Quick Access Toolbar
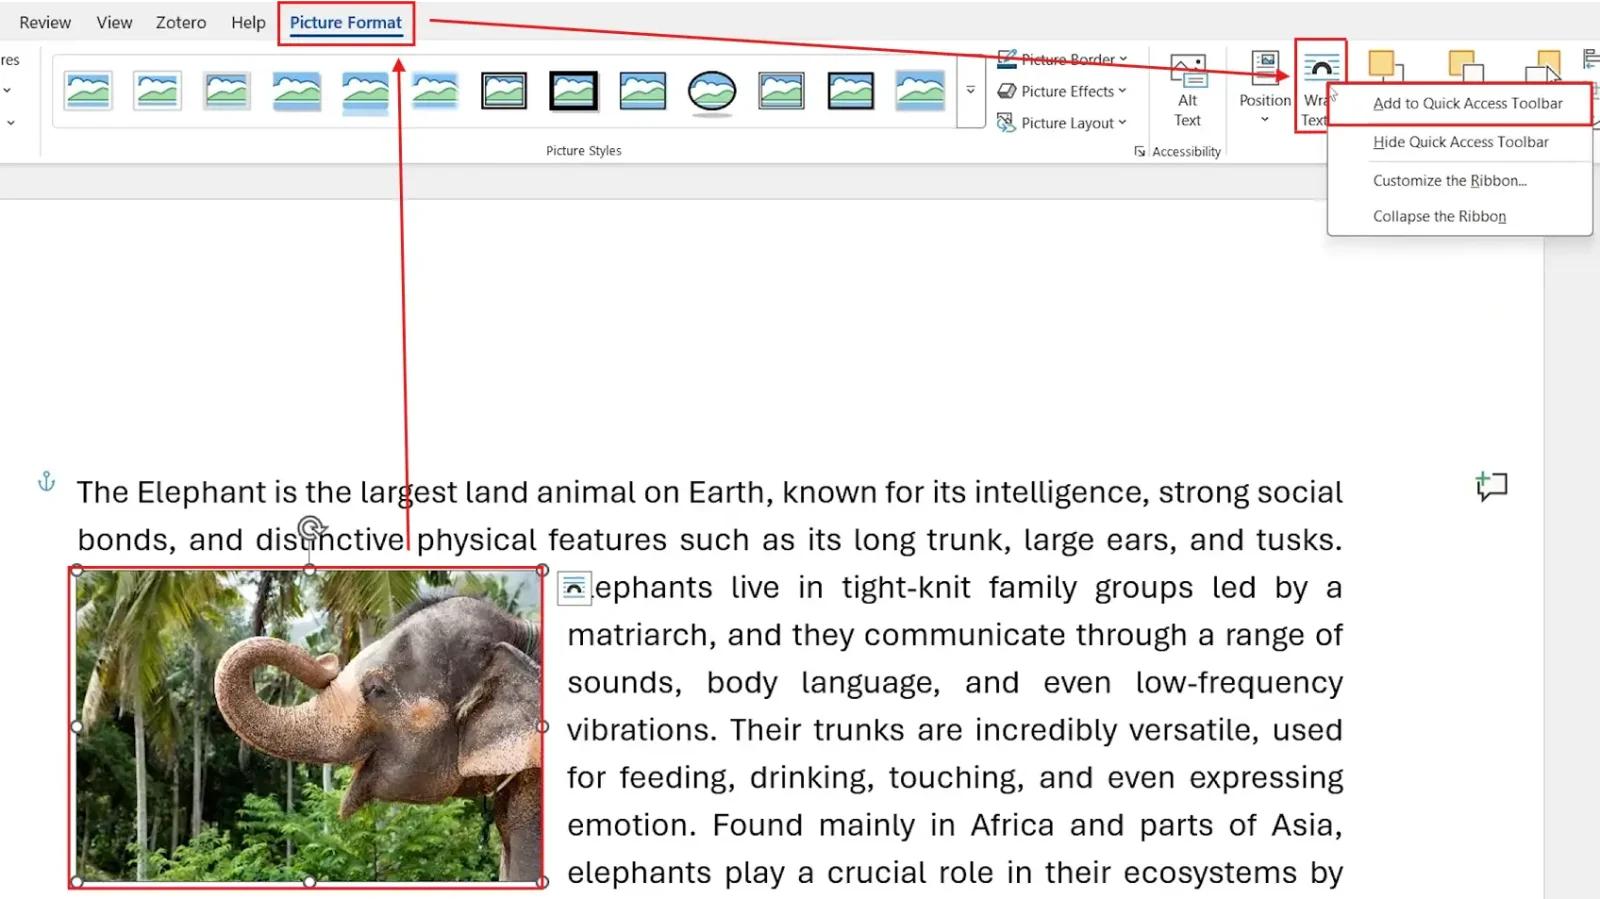
👉 The Wrap Text icon now appears in the Quick Access Toolbar at the top of Word. You can change wrapping with one click on any picture, in any document, without opening the Picture Format tab first.
Text Wrapping Options Explained
Each text wrapping option changes how the picture interacts with surrounding text. Pick the one that matches your layout goal.
| Option | Best For |
|---|---|
| In Line with Text | Default — picture acts like a text character (don’t use for free movement) |
| Square | Most documents — text wraps neatly in a rectangle around the picture |
| Tight | Pictures with cut-out backgrounds or irregular shapes |
| Through | Text flows through transparent areas of the picture |
| Top and Bottom | Text appears above and below only, never beside |
| Behind Text | Watermarks, background images, decorative overlays |
| In Front of Text | Annotations, callouts, picture overlays on top of text |
Which Method Should You Use to Move a Picture in Word?
| Method | Best For |
|---|---|
| Text Wrapping (Method 1) | Always start here — required for any free movement |
| Arrow Keys (Method 2) | Pixel-precise positioning, aligning to other elements |
| Quick Access Toolbar (Method 3) | Frequent image work — saves clicks on every document |
Common Problems When Moving a Picture in Word
Why Can’t I Move a Picture in Word?
Text wrapping is still set to In Line with Text. Select the picture, click Wrap Text, and pick Square or Tight. Free movement is impossible until you change this. This is the single most common cause of “can’t move picture” frustration in Word.
Text Overlaps the Picture
You’re using Tight or Through wrapping. Switch to Square — it keeps text a clean distance from the picture edges instead of trying to wrap to the picture’s outline.
Picture Jumps Around When You Edit Text
The picture is anchored to a paragraph that moves when you type. Click the picture, go to Picture Format > Position, and tick Fix position on page. The picture now stays put regardless of text changes.
Can’t Select the Picture
If the picture is set to Behind Text, clicking it selects the text above it instead. Press Tab after clicking to cycle through layered elements, or use the Selection Pane under Picture Format > Selection Pane.
Pro Tips for Moving Pictures in Word
- Use Square wrapping as your default — it’s the most predictable
- Hold Ctrl while dragging a corner handle to resize from the centre instead of the edge
- Use Word’s alignment guides (the green lines that appear while dragging) to snap pictures to margins and other elements
- Anchor pictures intentionally — for the technical detail on anchors, see the guide on how to move an image freely in Word
FAQs
How do I move a picture in Word?
To move a picture in Word, click the picture, go to Picture Format > Wrap Text, and pick any option other than “In Line with Text”. Square works best for most documents. Once wrapping is set, click and drag the picture anywhere on the page.
Why can’t I move a picture in Word?
Your picture is set to “In Line with Text” — Word’s default. This treats the picture like a single letter that flows with the paragraph. Change the wrapping style to Square or Tight to unlock free movement.
How do I move a picture freely in Word?
Set text wrapping to Square or Tight, then click and drag the picture anywhere on the page. For pixel-precise placement, use arrow keys after selecting the picture.
What is the best text wrapping option to move a picture in Word?
Square is the best default. It wraps text in a clean rectangle around the picture, lets you drag the picture anywhere, and keeps a sensible margin between text and image. Use Tight only for cut-out pictures with irregular edges.
How do I move a picture in Word without moving the text?
Enable text wrapping (Square or Tight), then go to Picture Format > Position > Fix position on page. The picture stays put even when you edit surrounding text.
How do I move a picture in Word with the keyboard?
Click the picture to select it, then press the arrow keys. Each press moves the picture by approximately 1 pixel. Hold Ctrl with an arrow key to move in larger steps.
Can I place a picture behind text in Word?
Yes. Select the picture, click Wrap Text, and choose Behind Text. The picture sits underneath the text — useful for watermarks, decorative backgrounds, or branded letterheads.
Does this work on Word for Mac?
Yes. The steps to move a picture in Word are nearly identical on Mac. The Picture Format tab, Wrap Text options, and arrow key behaviour all work the same way.
Conclusion
Now that you know how to move a picture in Word using 3 easy methods — text wrapping, arrow keys for precision, and the Quick Access Toolbar for one-click access — you can position pictures anywhere on the page without fighting Word’s default in-line behaviour.
For everyday documents, set wrapping to Square and drag. For pixel-precise alignment, use arrow keys. For frequent image work, add Wrap Text to the Quick Access Toolbar once and save clicks on every future document. With Method 1 mastered, the natural next step is to learn how to insert a picture in Microsoft Word using the three built-in methods.
Related Tutorials
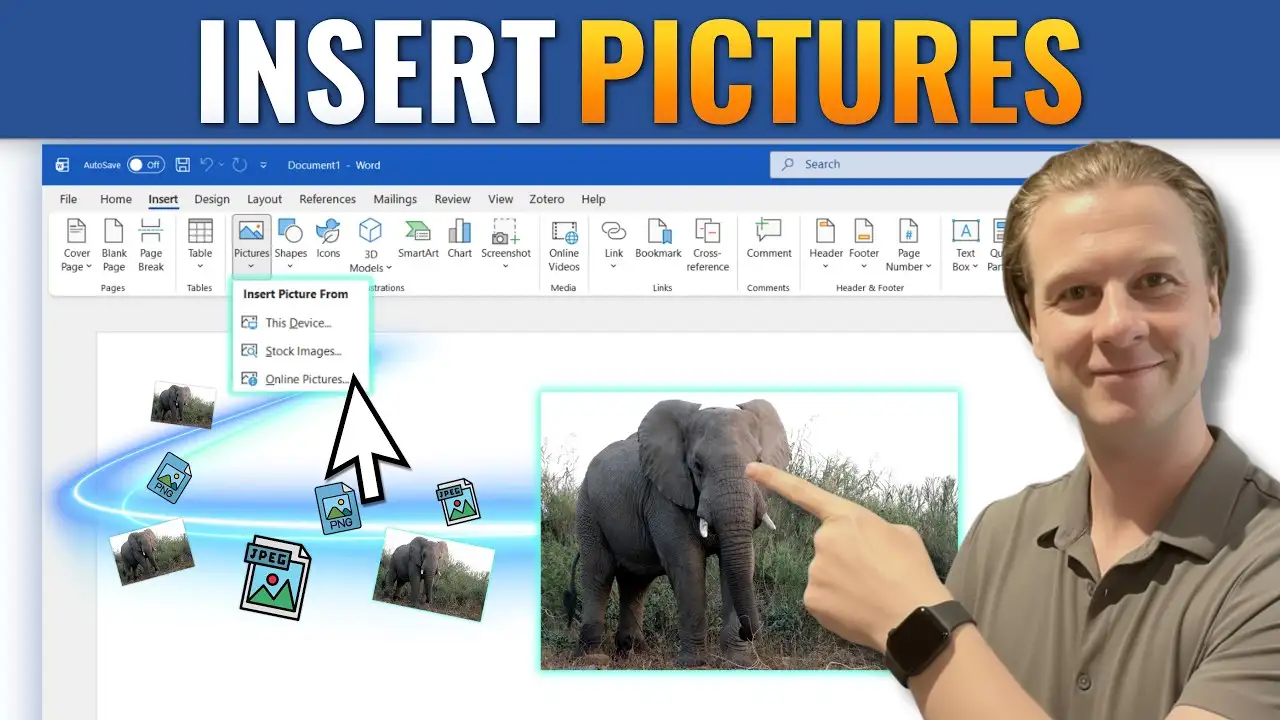
- How to Insert a Picture in Microsoft Word
- How to Insert a Picture into a Shape in Word
- How to Make an Image Transparent in Word

Recent Microsoft Word Tutorials

Looking for more help with Microsoft Word? Browse all step-by-step Word tutorials covering formatting, layout, pages, and document setup.
👉 View all Microsoft Word tutorials: https://wordmadeeasy.org/microsoft-word/
👉 Need more support – check out the official guidance: https://support.microsoft.com/en-au

Prefer watching instead of reading? Many Word tutorials are also available as short, step-by-step videos on the Word Made Easy YouTube channel.


Leave a Reply