Why Images Don’t Move Freely in Microsoft Word
By default, Microsoft Word places images in line with text. This means the picture behaves like a large letter, snapping into place alongside words and paragraphs.
While this works for basic documents, it becomes frustrating when you want:
- An image inside a paragraph
- Text to wrap neatly around a picture
- Full control over image placement
The good news? You can fix this in seconds.
Watch the Video Tutorial
If you prefer to see this in action, the full video walkthrough is below, showing each method step by step.
How to Position Images Exactly Where You Want in Word
Step 1: Click the Image
- Click on the picture in your document
- You’ll see small sizing handles (dots) appear around the image
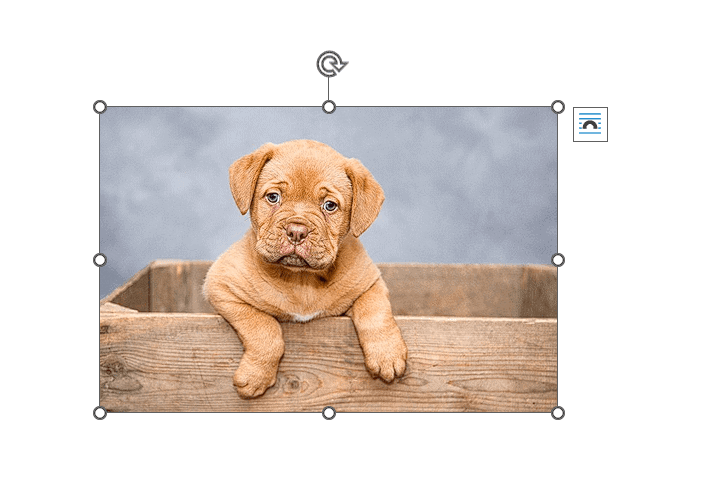
This tells Word the image is selected and ready to edit.
Step 2: Open the Picture Format Tab
Once the image is selected:
- Go to the Picture Format tab at the top of Word
- This tab only appears after you click an image
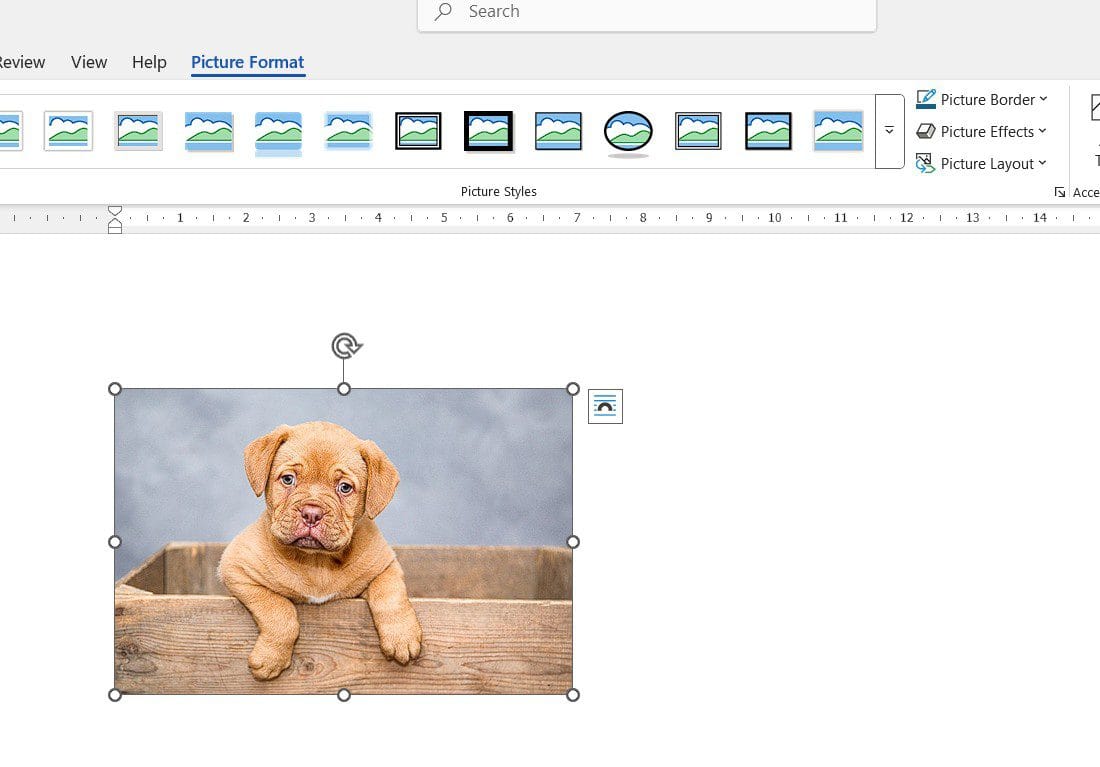
This is where all image layout and positioning tools live.
Step 3: Click “Position”
In the Picture Format tab:
- Find the Position button
- Click it to open the layout options

At this point, Word still restricts movement unless you change text wrapping.
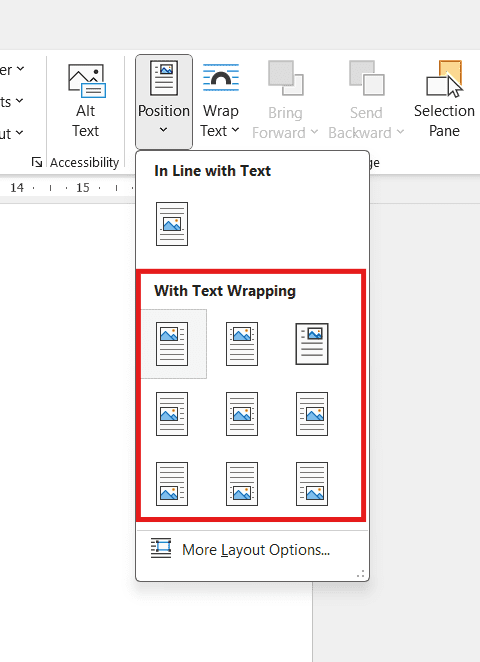
Step 4: Choose a Text Wrapping Option
Under the Position menu, select any option that includes text wrapping, such as:
- Square
- Tight
- Through
- Top and Bottom
This is the key step.
Once text wrapping is enabled:
- The text moves around the image
- The image becomes free to move anywhere on the page
Step 5: Drag the Image Where You Want It
Now simply:
- Click and drag the image
- Place it inside text, beside text, or anywhere on the page
The surrounding text will automatically adjust to fit around the image.
How to Resize an Image Without Breaking the Layout
To resize the image:
- Click on the image
- Drag one of the corner handles
- Release when you’re happy with the size
Because text wrapping is enabled, the text will continue to flow neatly around the image.
Best Text Wrapping Option (Recommended)
For most documents, Square text wrapping works best because:
- It looks clean and professional
- It’s easy to control
- It works well with paragraphs and headings
You can experiment, but Square is usually the safest choice.
Common Problems and Quick Fixes
Image still won’t move freely
Make sure text wrapping is not set to In Line with Text
Text overlaps the image
Switch to Square or Tight wrapping
Image jumps when moving
Zoom out slightly and drag more slowly
Why This Method Works
Text wrapping tells Word:
This image is an object, not a letter. That single change unlocks full positioning control and makes document layout much easier — and once your image is positioned freely, you may also want to learn how to add text over an image in Microsoft Word.
That single change unlocks full positioning control and makes document layout much easier.
FAQs: Positioning Images in Word
Can I move images freely in Word?
Yes, using Tight or Through wrapping — and if you want text to show clearly over an image, you may also want to learn how to make an image transparent in Word so the background doesn’t overpower the text.
Why does Word lock images in place?
Because the default setting treats images as inline text.
What’s the best wrapping option for beginners?
Square text wrapping.
Does this work on Word for Mac?
Yes, the steps are nearly identical.
Can I overlap images and text?
Yes, using Tight or Through wrapping.
Will resizing affect text layout?
No, as long as text wrapping is enabled.
Conclusion
Positioning images correctly in Word enhances the professional appearance of your documents — and if you want to go further with image styling, you can also learn how to insert a picture into a shape in Word to create circles, ovals, and other creative layouts.It also saves a lot of frustration. Once you understand text wrapping, image placement becomes quick, simple, and predictable.
Try it once, and you’ll never fight with images again.
Helpful Resource
For Microsoft’s official, step-by-step instructions, you can also refer to this guide:
Position Images Exactly Where You Want
https://support.microsoft.com/en-us/office/wrap-text-and-move-pictures-in-word-becff26a-d1b9-4b9d-80f8-7e214557ca9f
Related Tutorials
- How to Add Text Over an Image in Microsoft Word
- How to Make an Image Transparent in Word
- How to Insert a Picture into a Shape in Word

Recent Microsoft Word Tutorials

Looking for more help with Microsoft Word? Browse all step-by-step Word tutorials covering formatting, layout, pages, and document setup.
👉 View all Microsoft Word tutorials: https://wordmadeeasy.org/microsoft-word/
👉 Need more support – check out the official guidance: https://support.microsoft.com/en-au

Prefer watching instead of reading? Many Word tutorials are also available as short, step-by-step videos on the Word Made Easy YouTube channel.


Leave a Reply