If you need to know how to add a watermark in Word — to mark a draft, flag a confidential file, or stamp a logo across every page — Microsoft Word gives you three built-in methods that take under a minute each. This guide pairs with our companion tutorial on how to remove a watermark in Word, so you can switch between adding and clearing them with confidence.
In this guide, you’ll learn the three official methods Word offers: the built-in gallery, a fully customisable text watermark, and a picture watermark for branding with a company logo.
Why Use a Watermark in Word
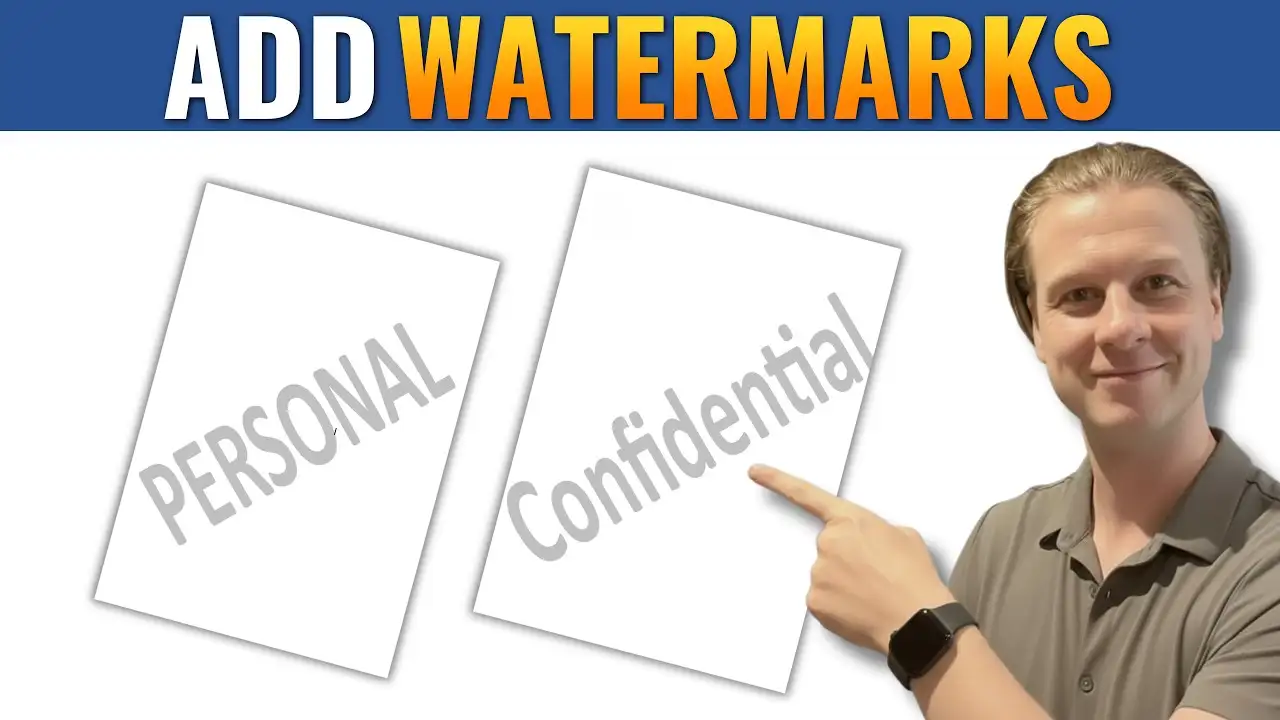
A watermark sits behind your document content as faded text or an image. It tells the reader something about the document’s status or ownership without interrupting the content itself.
The most common uses:
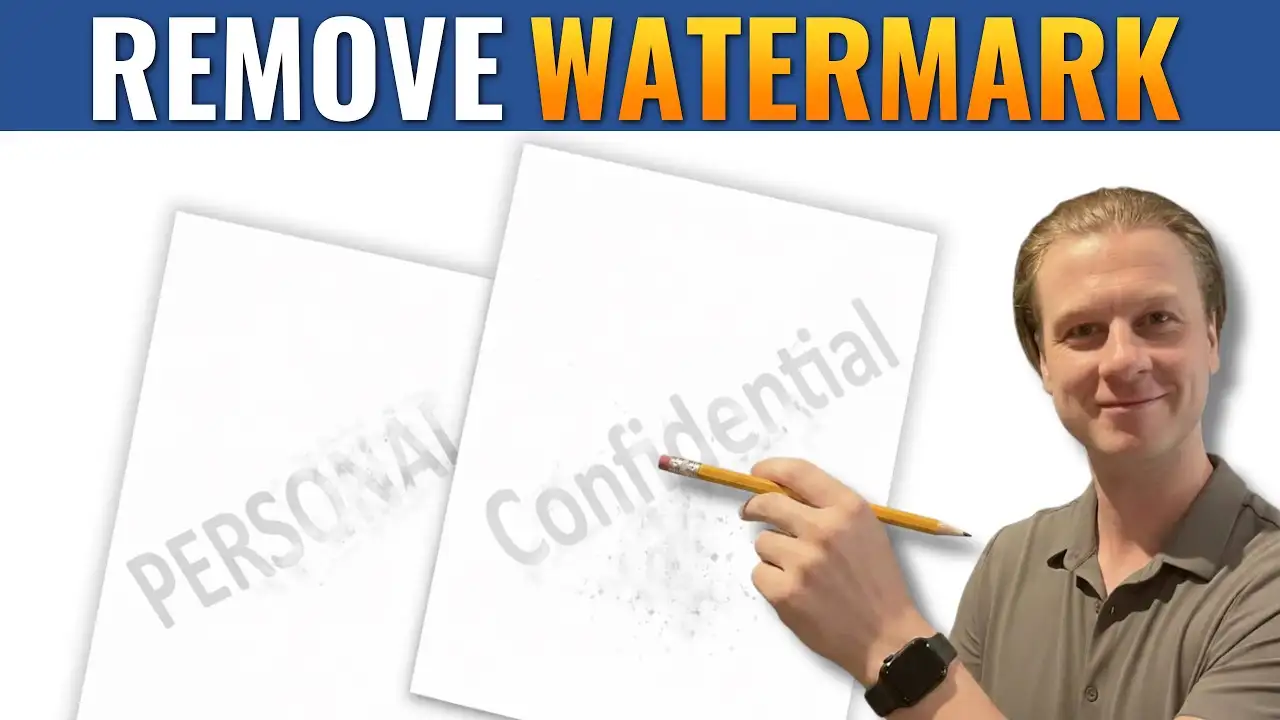
- Marking documents as Confidential, Draft, Urgent, or Do Not Copy
- Adding a company logo across every page for branded reports and proposals
- Protecting sensitive content — often paired with password-protecting a Word document
- Adding version labels like Version 1, Final, or Internal Use Only
Watch the Video Tutorial
If you prefer to see this in action, the full video walkthrough is below, showing each method step by step.
How to Add a Watermark in Word: 3 Methods at a Glance
All three methods live under the same menu — Design → Watermark. Which one you use depends on what you need the watermark to say or show:
- Method 1 — Pick from Word’s built-in templates (fastest for standard labels like Draft or Confidential)
- Method 2 — Create a custom text watermark with your own wording, font, and colour
- Method 3 — Use a picture watermark to brand documents with a company logo
Method 1: How to Add a Watermark in Word Using the Built-In Gallery
This is the fastest method. Word ships with several pre-designed watermarks that apply with a single click.
Steps:
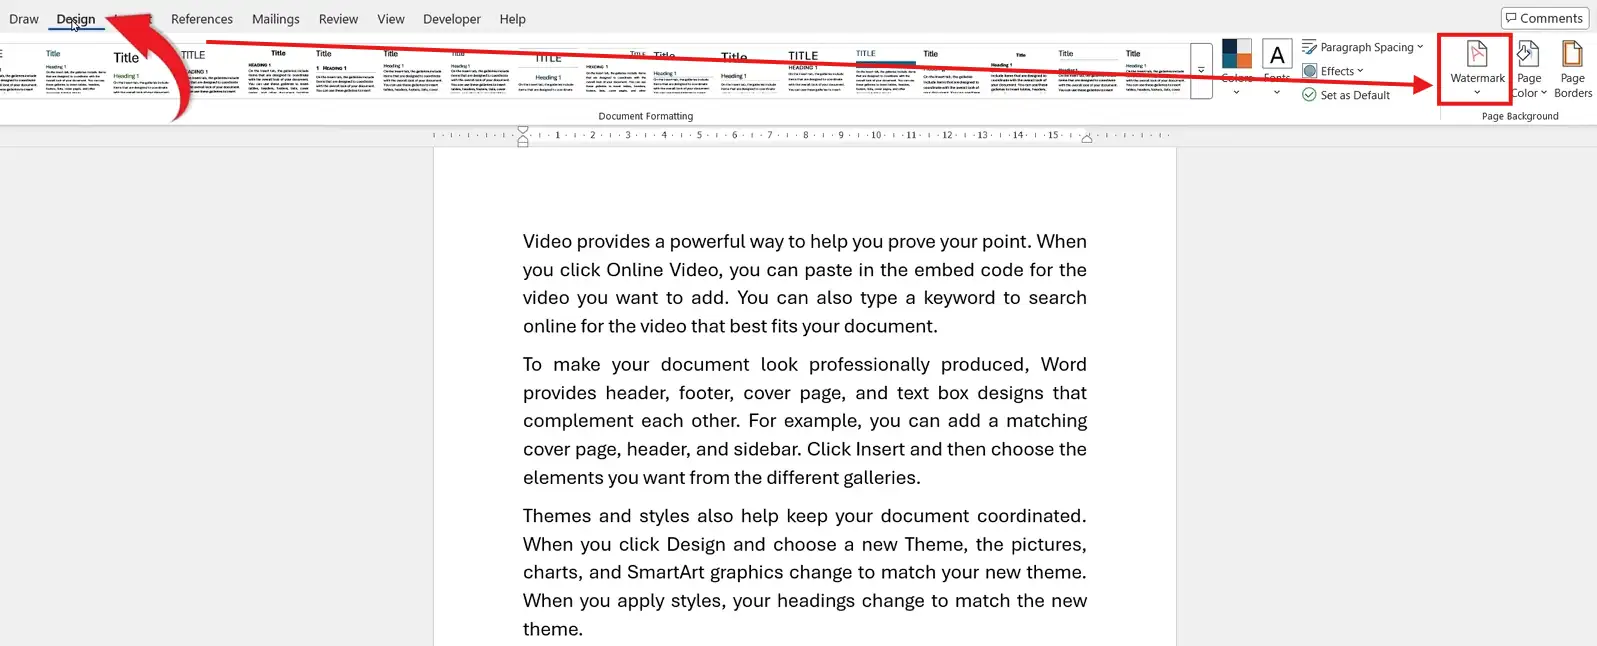
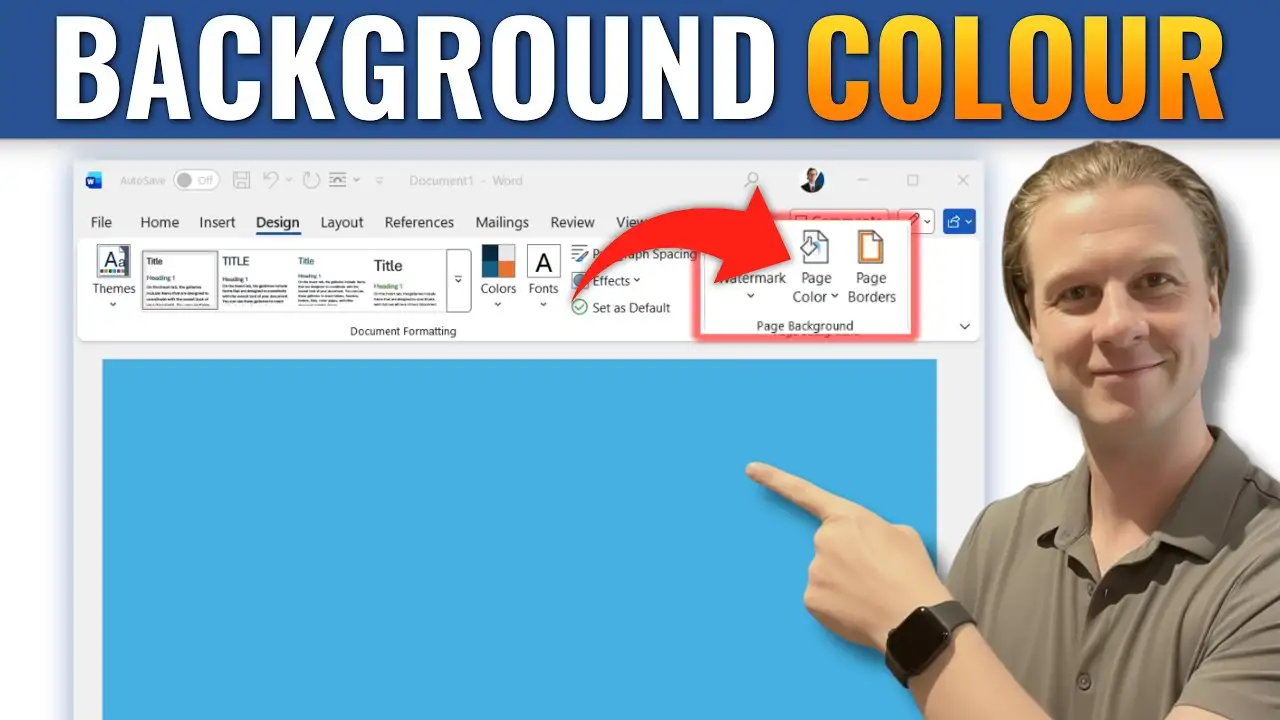
- Open your document and click the Design tab on the ribbon
- Click Watermark in the Page Background group on the right
- Pick one of the built-in templates from the gallery:
- Confidential
- Draft
- Do Not Copy
- Urgent
- ASAP
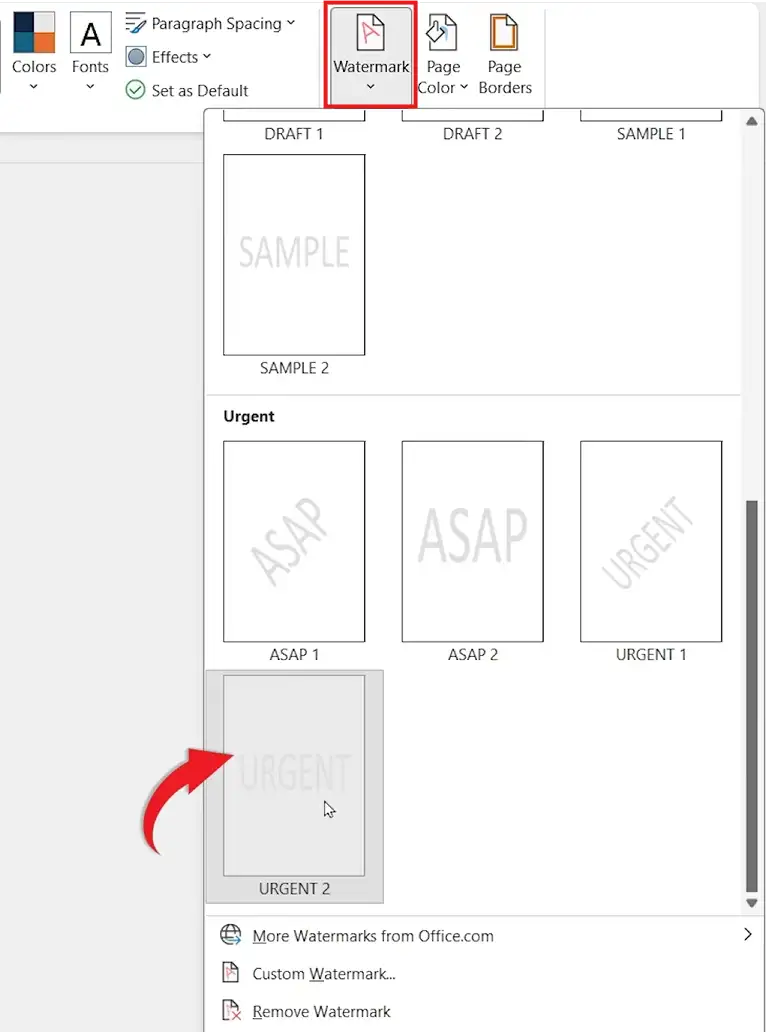
👉 The watermark appears as faded diagonal text behind your document content and repeats on every page automatically.
Method 2: How to Add a Watermark in Word Using Custom Text
When the built-in options don’t fit — for version labels, internal codes, or custom messaging — build your own text watermark from scratch.
Steps:
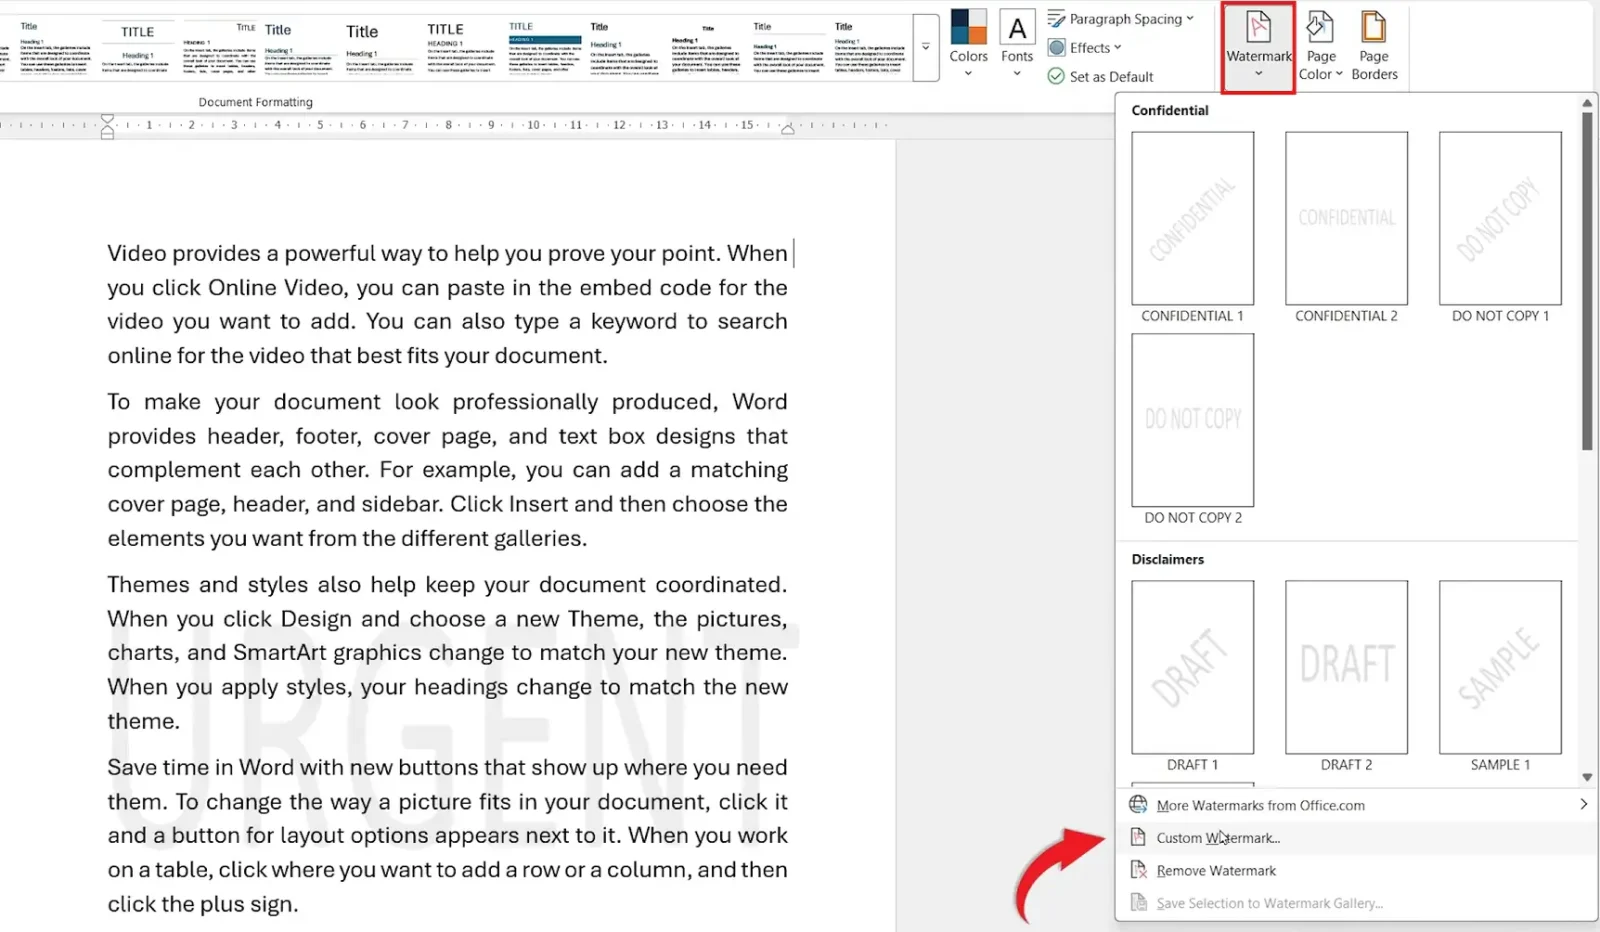
- Go to Design → Watermark
- Click Custom Watermark at the bottom of the gallery
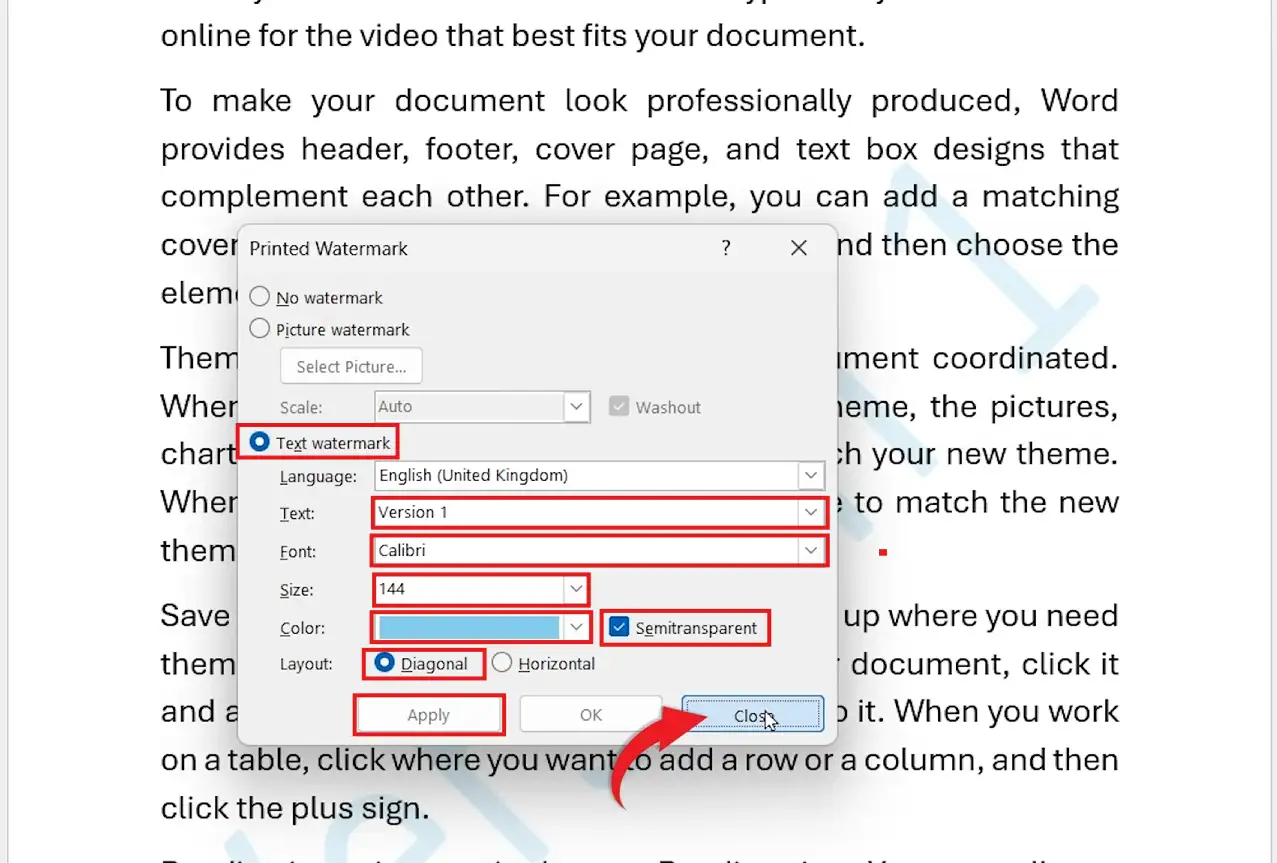
- In the Printed Watermark dialog, select Text watermark
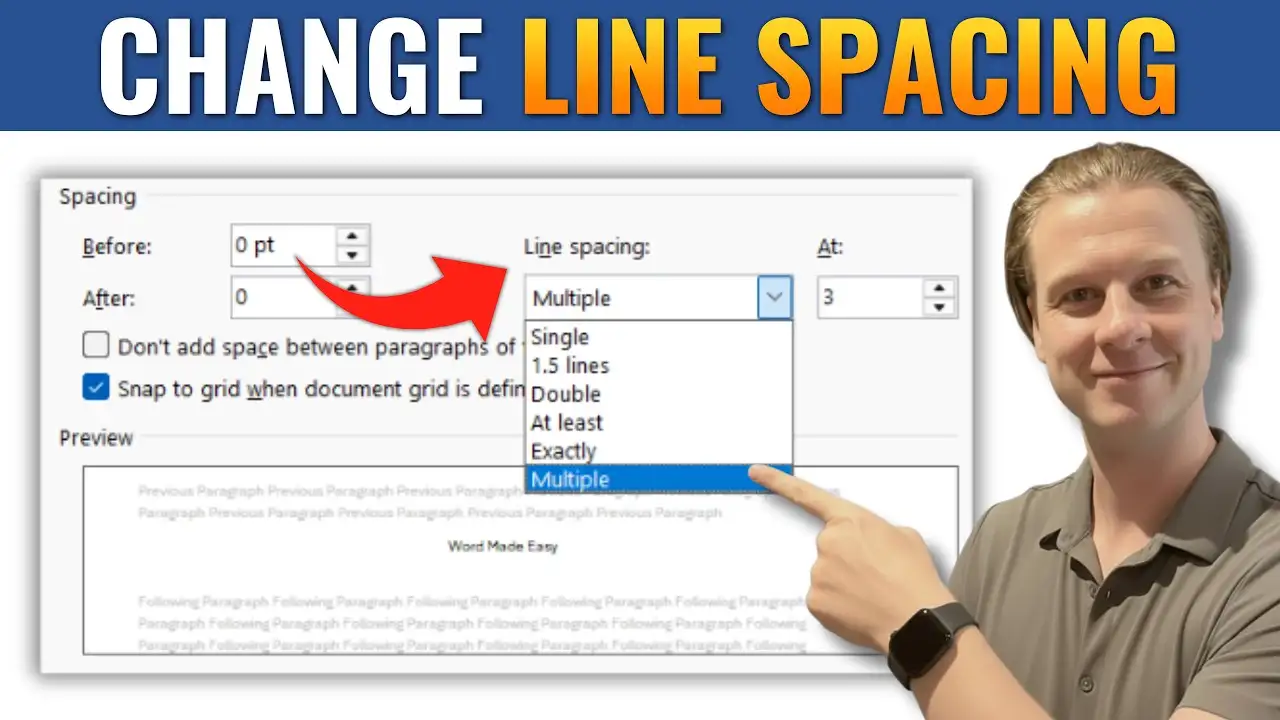
- Configure the watermark:
- Text — type your wording (e.g. Version 1, Internal Use Only)
- Font — pick any installed font
- Size — Auto works for most pages, or set manually (144pt is standard)
- Color — choose any colour; keep Semi-transparent ticked for readability
- Layout — Diagonal (default) or Horizontal
- Click Apply, then Close
👉 Your custom text now appears behind every page of the document.
Method 3: How to Add a Watermark in Word Using a Picture
Use a picture watermark when you want to brand documents with a company logo or stamp a graphic across every page — and for fine-tuning the result, see how to make an image transparent in Word.
Steps:
- Go to Design → Watermark → Custom Watermark
- Select Picture watermark in the dialog
- Click Select Picture and choose your image from your computer, OneDrive, or Bing image search
- Set the Scale (Auto fits the page; 100% uses original size)
- Leave Washout ticked so the image fades behind your text — untick it for a bold, fully opaque logo
- Click Apply, then Close
👉 The image appears centred on every page, faded by default for readability.
Which Watermark Type Should You Use?
| Watermark Type | Best For | Setup Time | Customisable |
|---|---|---|---|
| Built-in template | Standard labels — Draft, Confidential, Urgent | 5 seconds | Limited |
| Custom text | Version codes, internal labels, branded messaging | 30 seconds | Fully customisable |
| Picture | Company logo, branded reports, proposals | 45 seconds | Image, scale, washout |
Most users stick with Method 1 for everyday documents and Method 3 for client-facing work.
How to Preview Your Watermark Before Printing
Watermarks render slightly differently on screen versus paper. Always check the print preview before sending a watermarked document to colleagues or clients.
Steps:
- Press Ctrl + P to open Print preview
- Check the watermark position, opacity, and readability against your content
- Press Esc to return to the document if adjustments are needed
👉 If the watermark looks too faint or too bold, return to Design → Watermark → Custom Watermark and adjust the Washout or Semi-transparent setting.
How to Edit or Remove a Watermark
Once a watermark is in place, you can edit it or clear it without touching your document content — for the full guide on stubborn watermarks that resist the standard removal option, see how to remove a watermark in Word.
- Edit — Go to Design → Watermark → Custom Watermark, change the settings, then click Apply
- Remove — Go to Design → Watermark → Remove Watermark
👉 Changes apply across every page instantly.
Pro Tips for Watermarks in Word
- Watermarks are stored in the header layer — they print but don’t interfere with your text flow
- For logo watermarks, use a PNG with a transparent background rather than a JPEG — the result looks far cleaner
- Use section breaks if you only want the watermark on certain pages (the same technique that controls page backgrounds in Microsoft Word)
- If the watermark prints too pale, untick Semi-transparent (for text) or Washout (for pictures) and reapply
FAQs
How do I add a watermark in Word?
To add a watermark in Word, go to the Design tab, click Watermark, then pick a built-in template or select Custom Watermark for text or picture options. The watermark applies to every page automatically.
What is a watermark in Microsoft Word?
A watermark is faded text or an image that sits behind your document content. It’s commonly used to label drafts, mark confidential files, or brand documents with a logo.
Can I customise the watermark text in Word?
Yes. Go to Design → Watermark → Custom Watermark → Text watermark. You can set your own wording, font, size, colour, transparency, and layout (diagonal or horizontal).
Can I use a logo as a watermark in Word?
Yes. Use the Picture watermark option under Custom Watermark and upload your logo. For best results, use a PNG with a transparent background.
Do watermarks show up when I print the document?
Yes. Watermarks are part of the printable document and appear on every page exactly as they show on screen. Use Ctrl + P to check before printing.
Can I add a watermark to only one page in Word?
Yes, but it requires section breaks. Insert a section break before the page, unlink the header from the previous section, then apply the watermark inside that section only.
Is there a keyboard shortcut to add a watermark in Word?
No direct shortcut exists in Word. The fastest route is Alt + G to jump to the Design tab, then keyboard-navigate to the Watermark dropdown.
Conclusion
Knowing how to add a watermark in Word gives you three quick ways to label, brand, or protect your documents — built-in templates for speed, custom text for control, and pictures for branding. Each method lives under the same menu, so once you’ve done it once, you can switch between them in seconds.
When the watermark has done its job, clearing it takes one click — see the guide on how to remove a watermark in Word for the full removal process, including the advanced fix for stubborn image-based watermarks.
Related Tutorials
- How to Remove a Watermark in Word
- How to Add a Background in Microsoft Word
- How to Password Protect a Word Document

Recent Microsoft Word Tutorials

Looking for more help with Microsoft Word? Browse all step-by-step Word tutorials covering formatting, layout, pages, and document setup.
👉 View all Microsoft Word tutorials: https://wordmadeeasy.org/microsoft-word/
👉 Need more support – check out the official guidance: https://support.microsoft.com/en-au

Prefer watching instead of reading? Many Word tutorials are also available as short, step-by-step videos on the Word Made Easy YouTube channel.


Leave a Reply